
How to Make a Simple Embroidery Hoop
Another crafting trend that’s on the rise..and this week I finally understand why!
I missed blog day last week because I was at the BLM protest in Hyde park as an act of solidarity. I could have picked up up again on Thursday but it just felt too trivial to be talking about embroidery at such an overwhelming and painful time. I don’t want to talk too much about what is happening in the world right now because I’m really no authority on it but what I will say is that the protest was peaceful, respectful and above all, necessary and important.
Project time – 2-4 hours
Price – £18
Pros
Personalised
Quicker than you think!
No specialist skills or tools needed
Small workspace
Cons
None really!
Here we go…another surprisingly fun craft! I hadn’t really considered doing embroidery as one of my blog makes but when I saw Delicious Monster Tea’s new kits, I fancied giving it a go. I don’t follow many embroiderers but I love Claire’s work and it also helps that she is ABSOLUTELY LOVELY! When I got started on my hoop I found I couldn’t put it down, it’s really addictive and you just want to get to the end. I have some regrets with my design which I’ll get into later, but overall I bloody loved it.
Tools
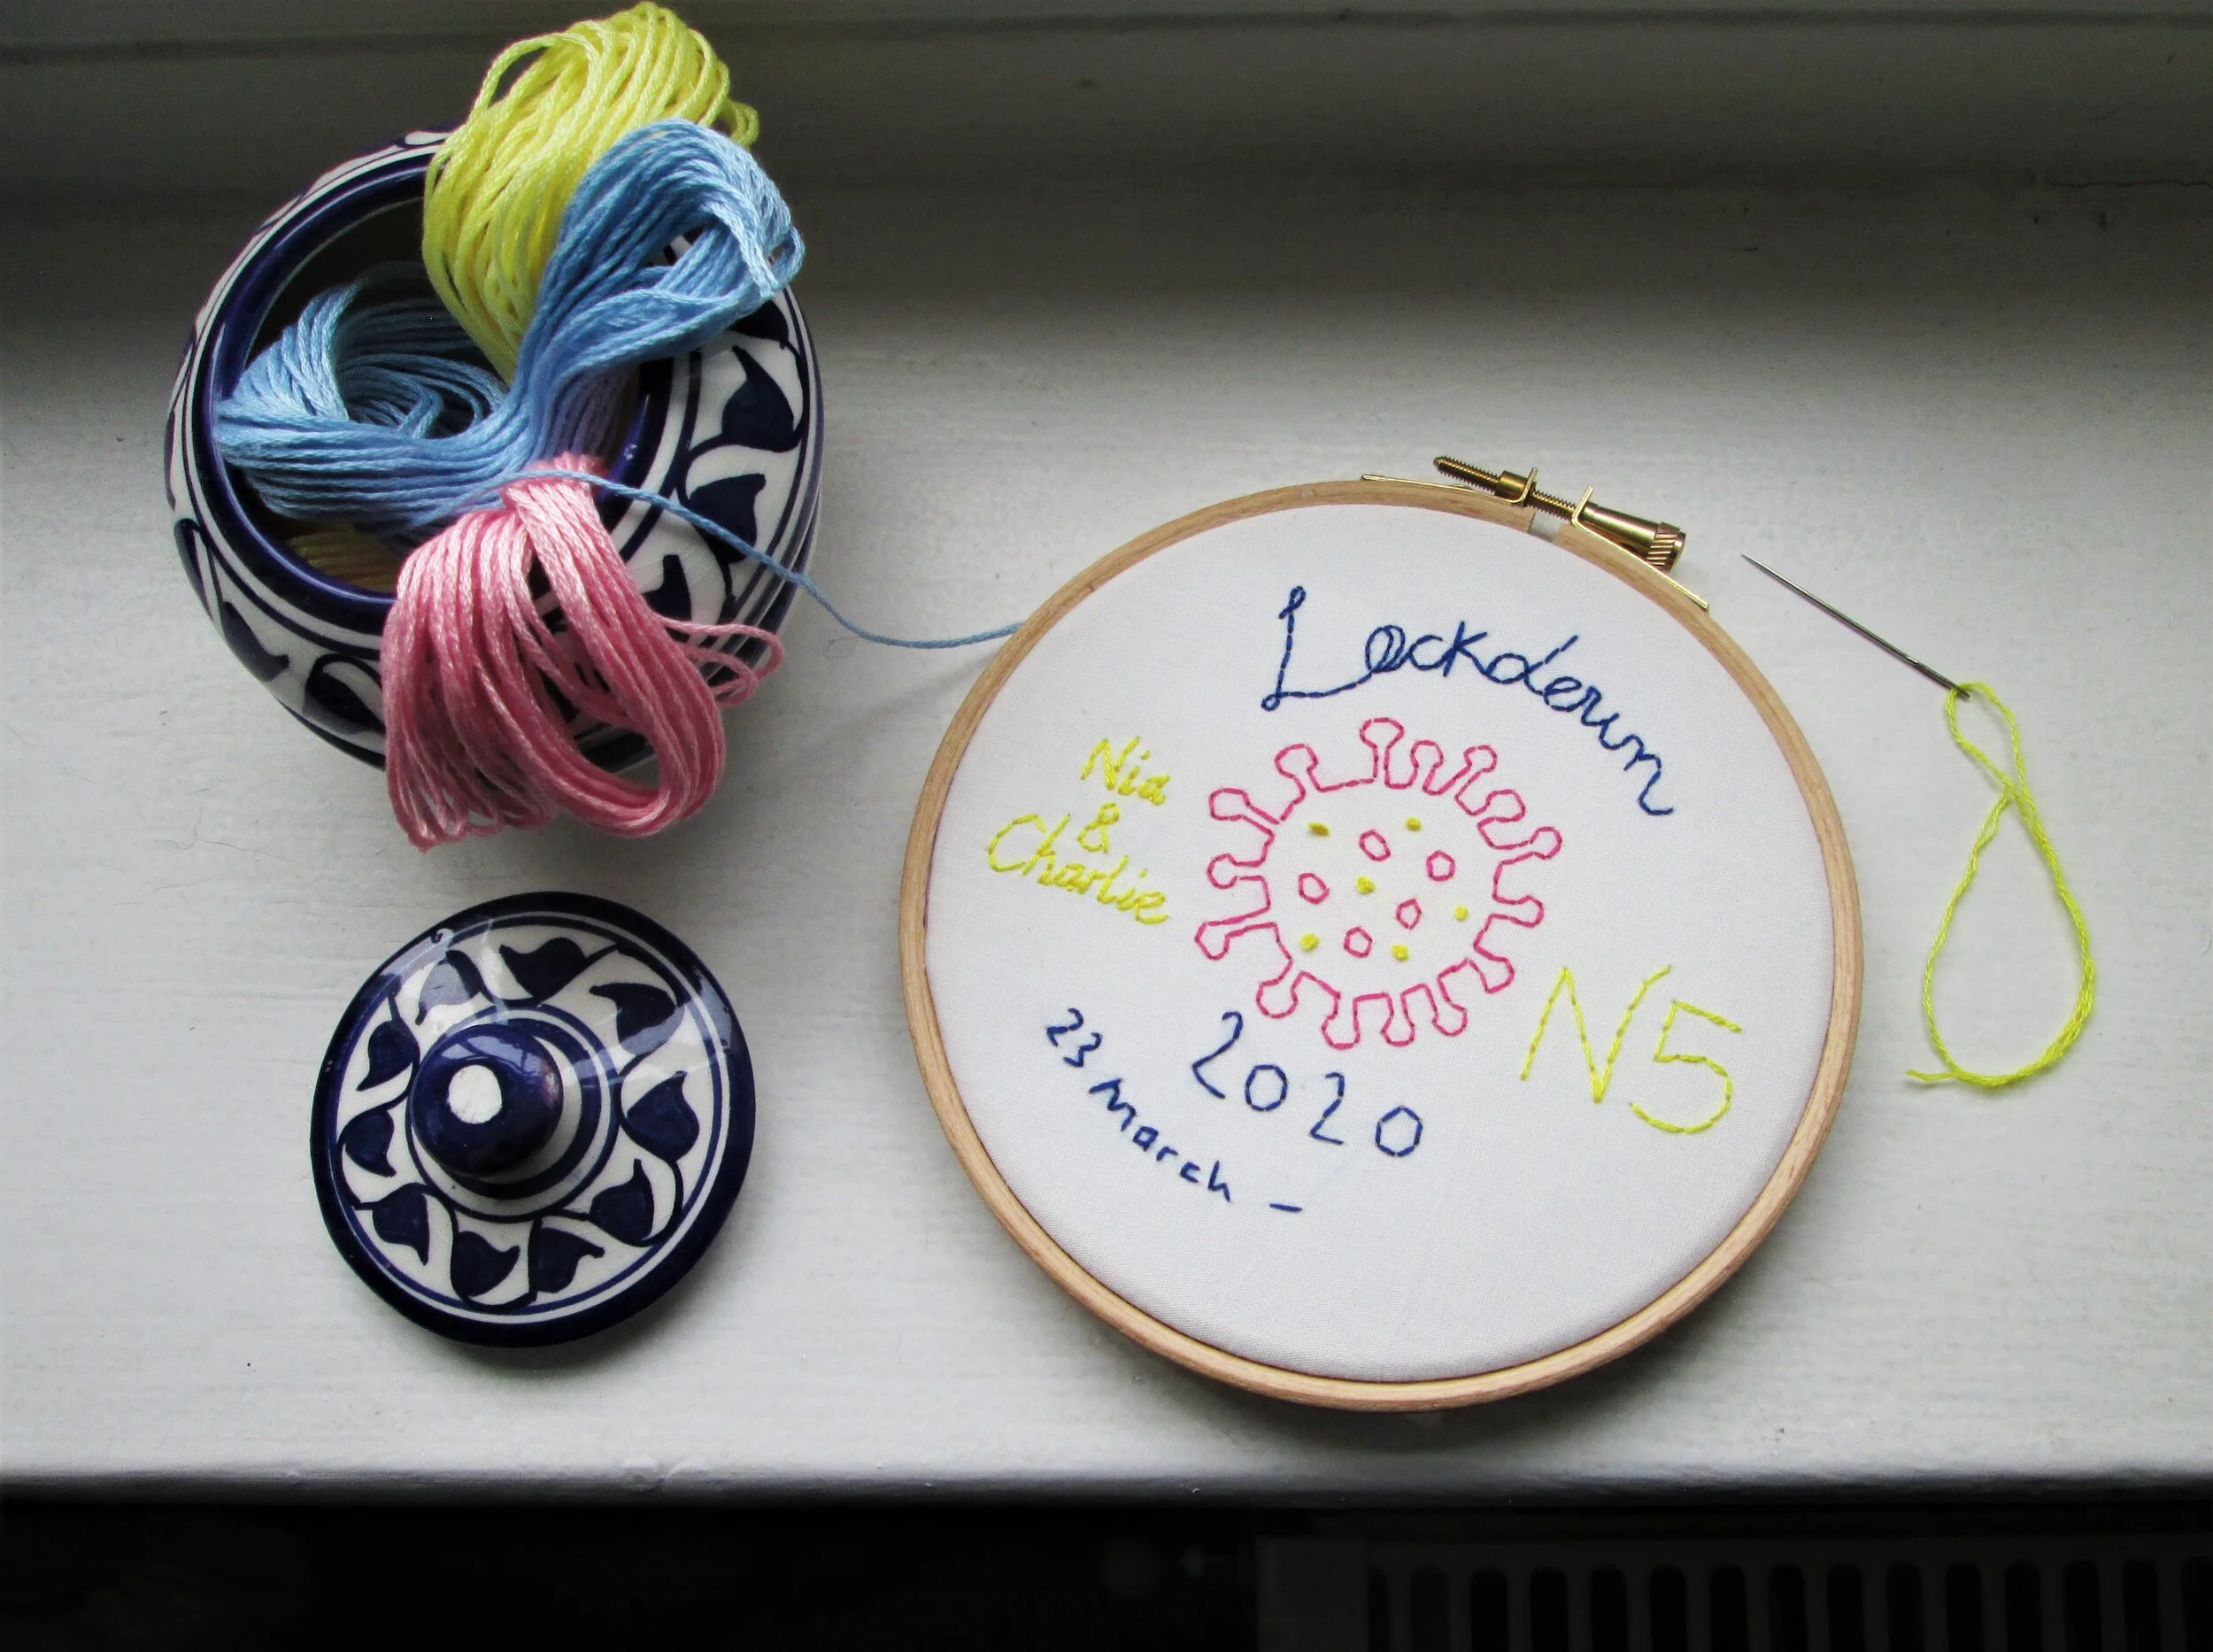
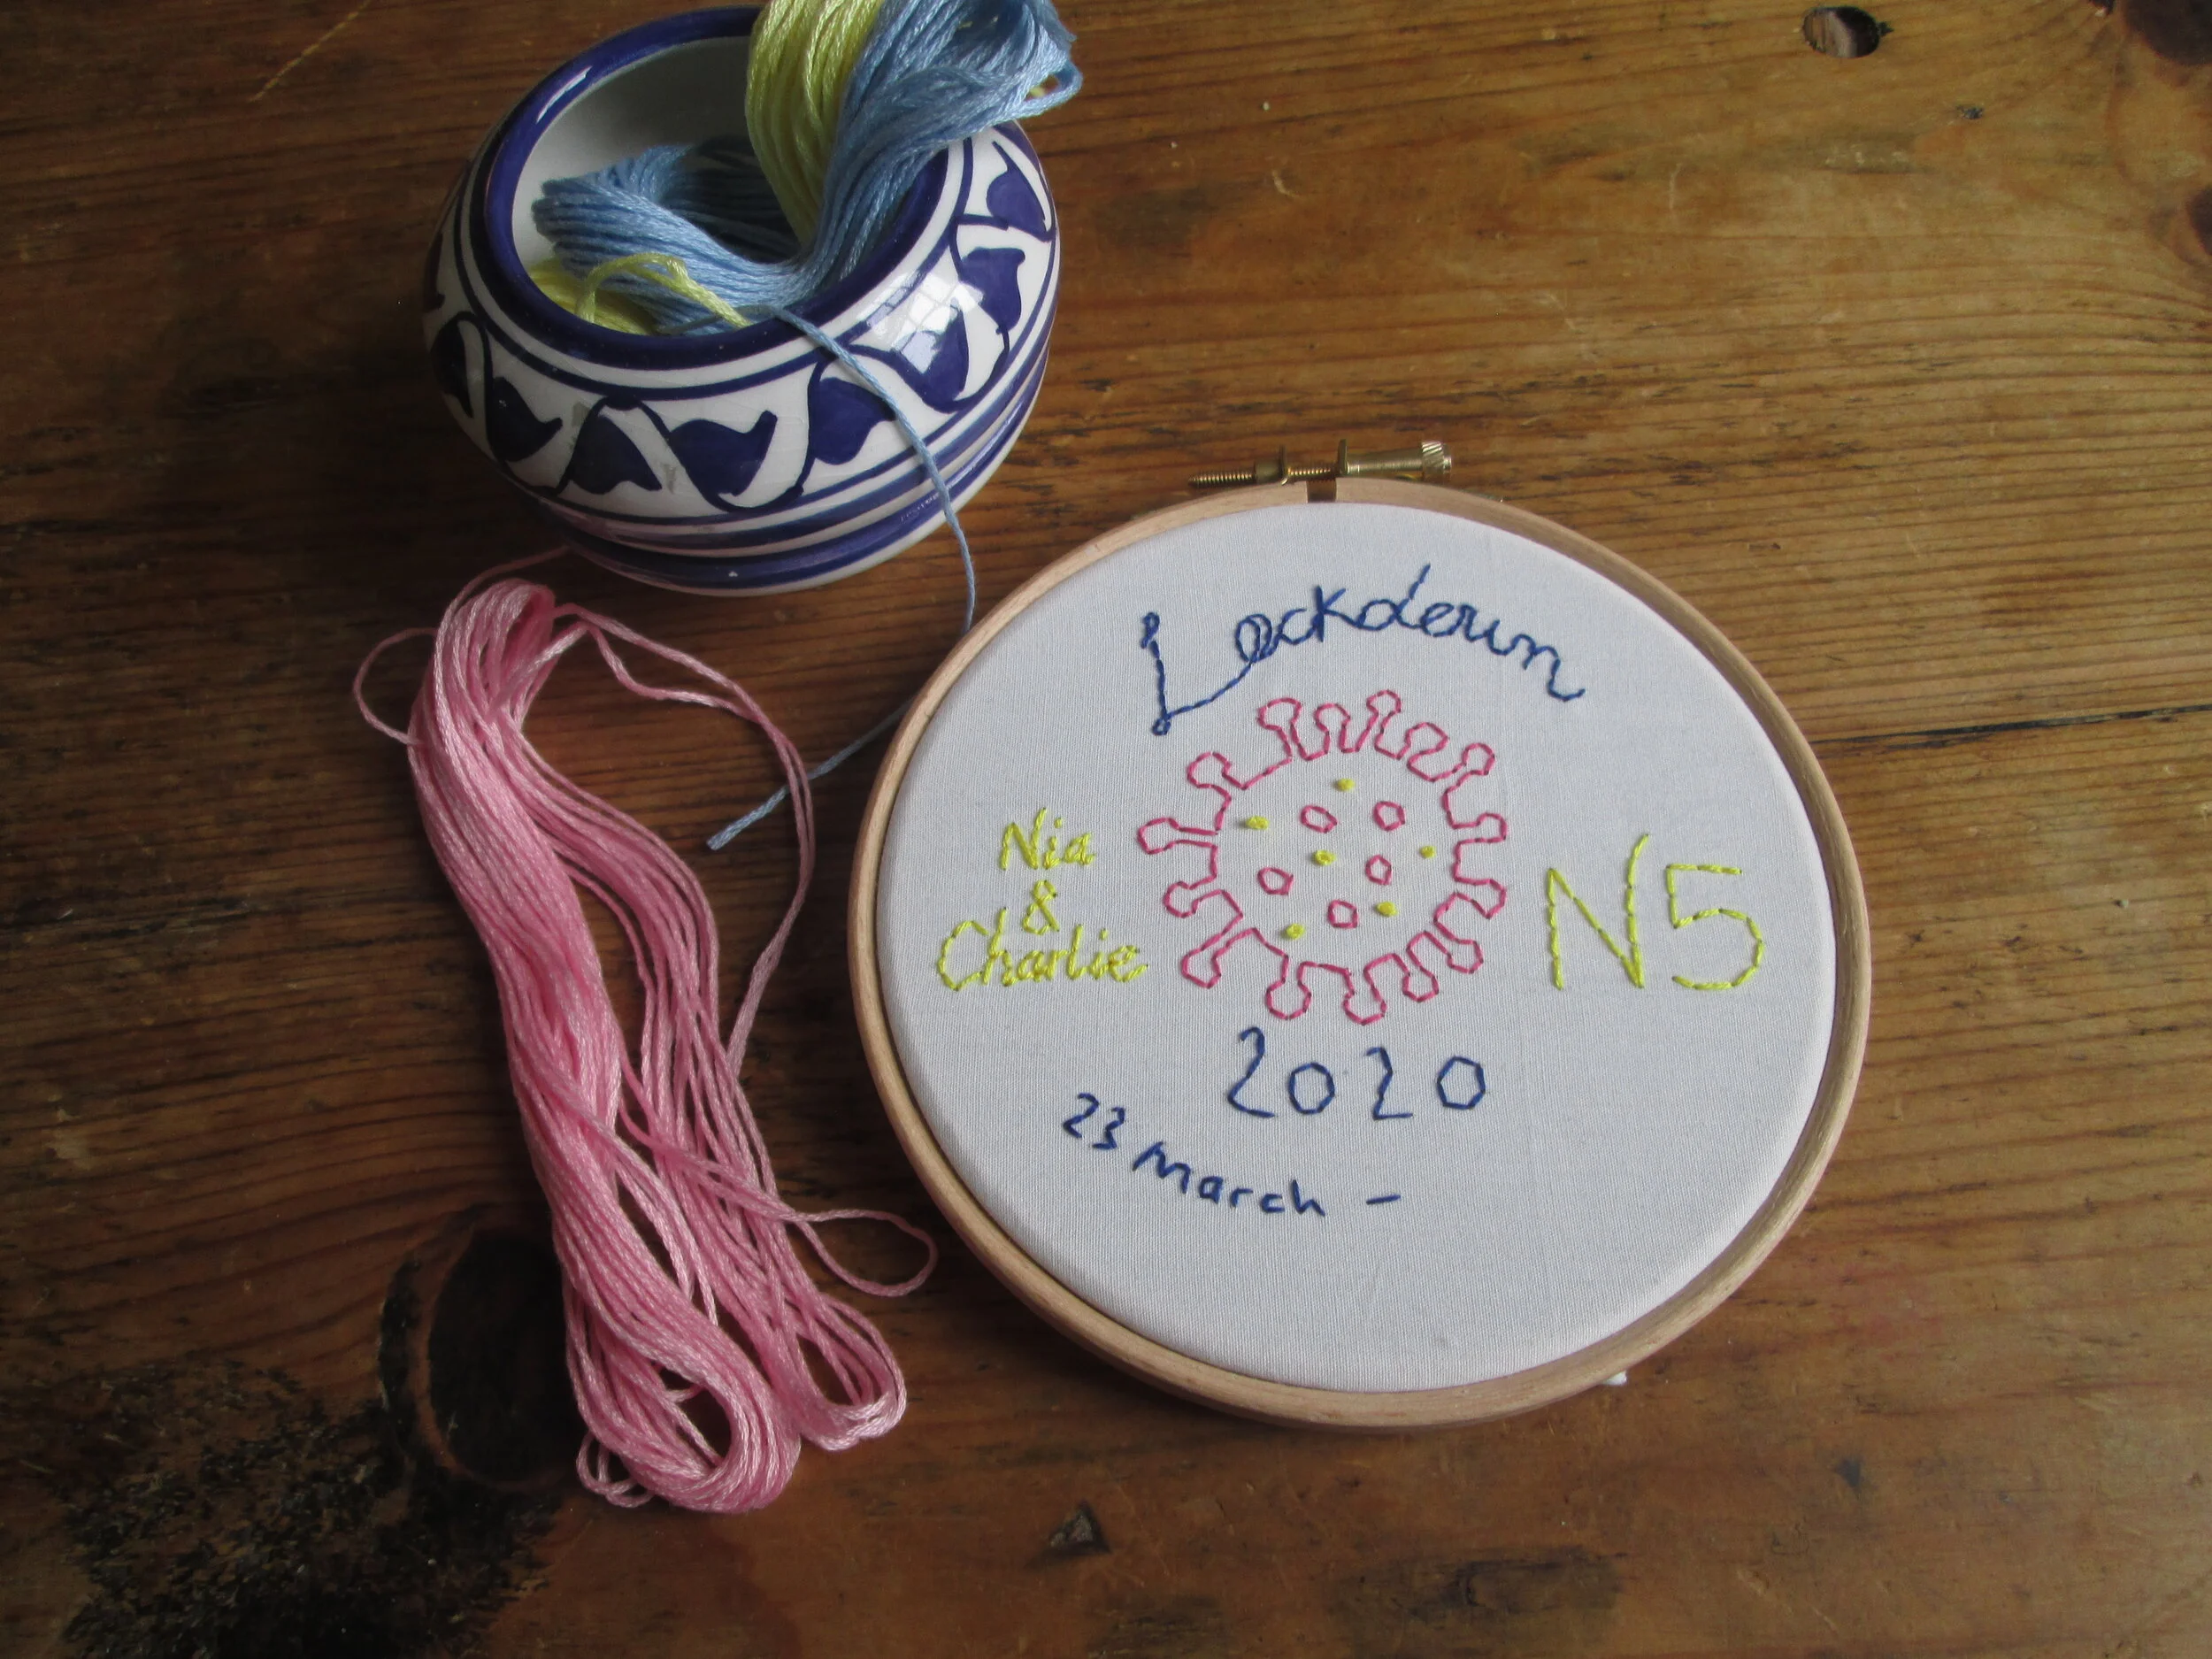
Delicious Monster Tea’s Embroidery Kit - I got this one but she also has amazing t-shirt embroidery kits which I wish I’d bought one of
Claire’s kits include an embroidery hoop, needle, 4 x coloured thread, fabric, erasable pen and instructions
Extra embroidery thread - Claire’s kit comes with 4 colours but I wanted a few extras to experiment with.
The real magic of the embroidery kit is the erasable pen. So I’ll start there. This magic pen is heat sensitive so you can go wild with your initial drawing and when you’ve finished stitching, just get the hairdryer on there and it disappears! Mindblowing. I even made a video so you can see.

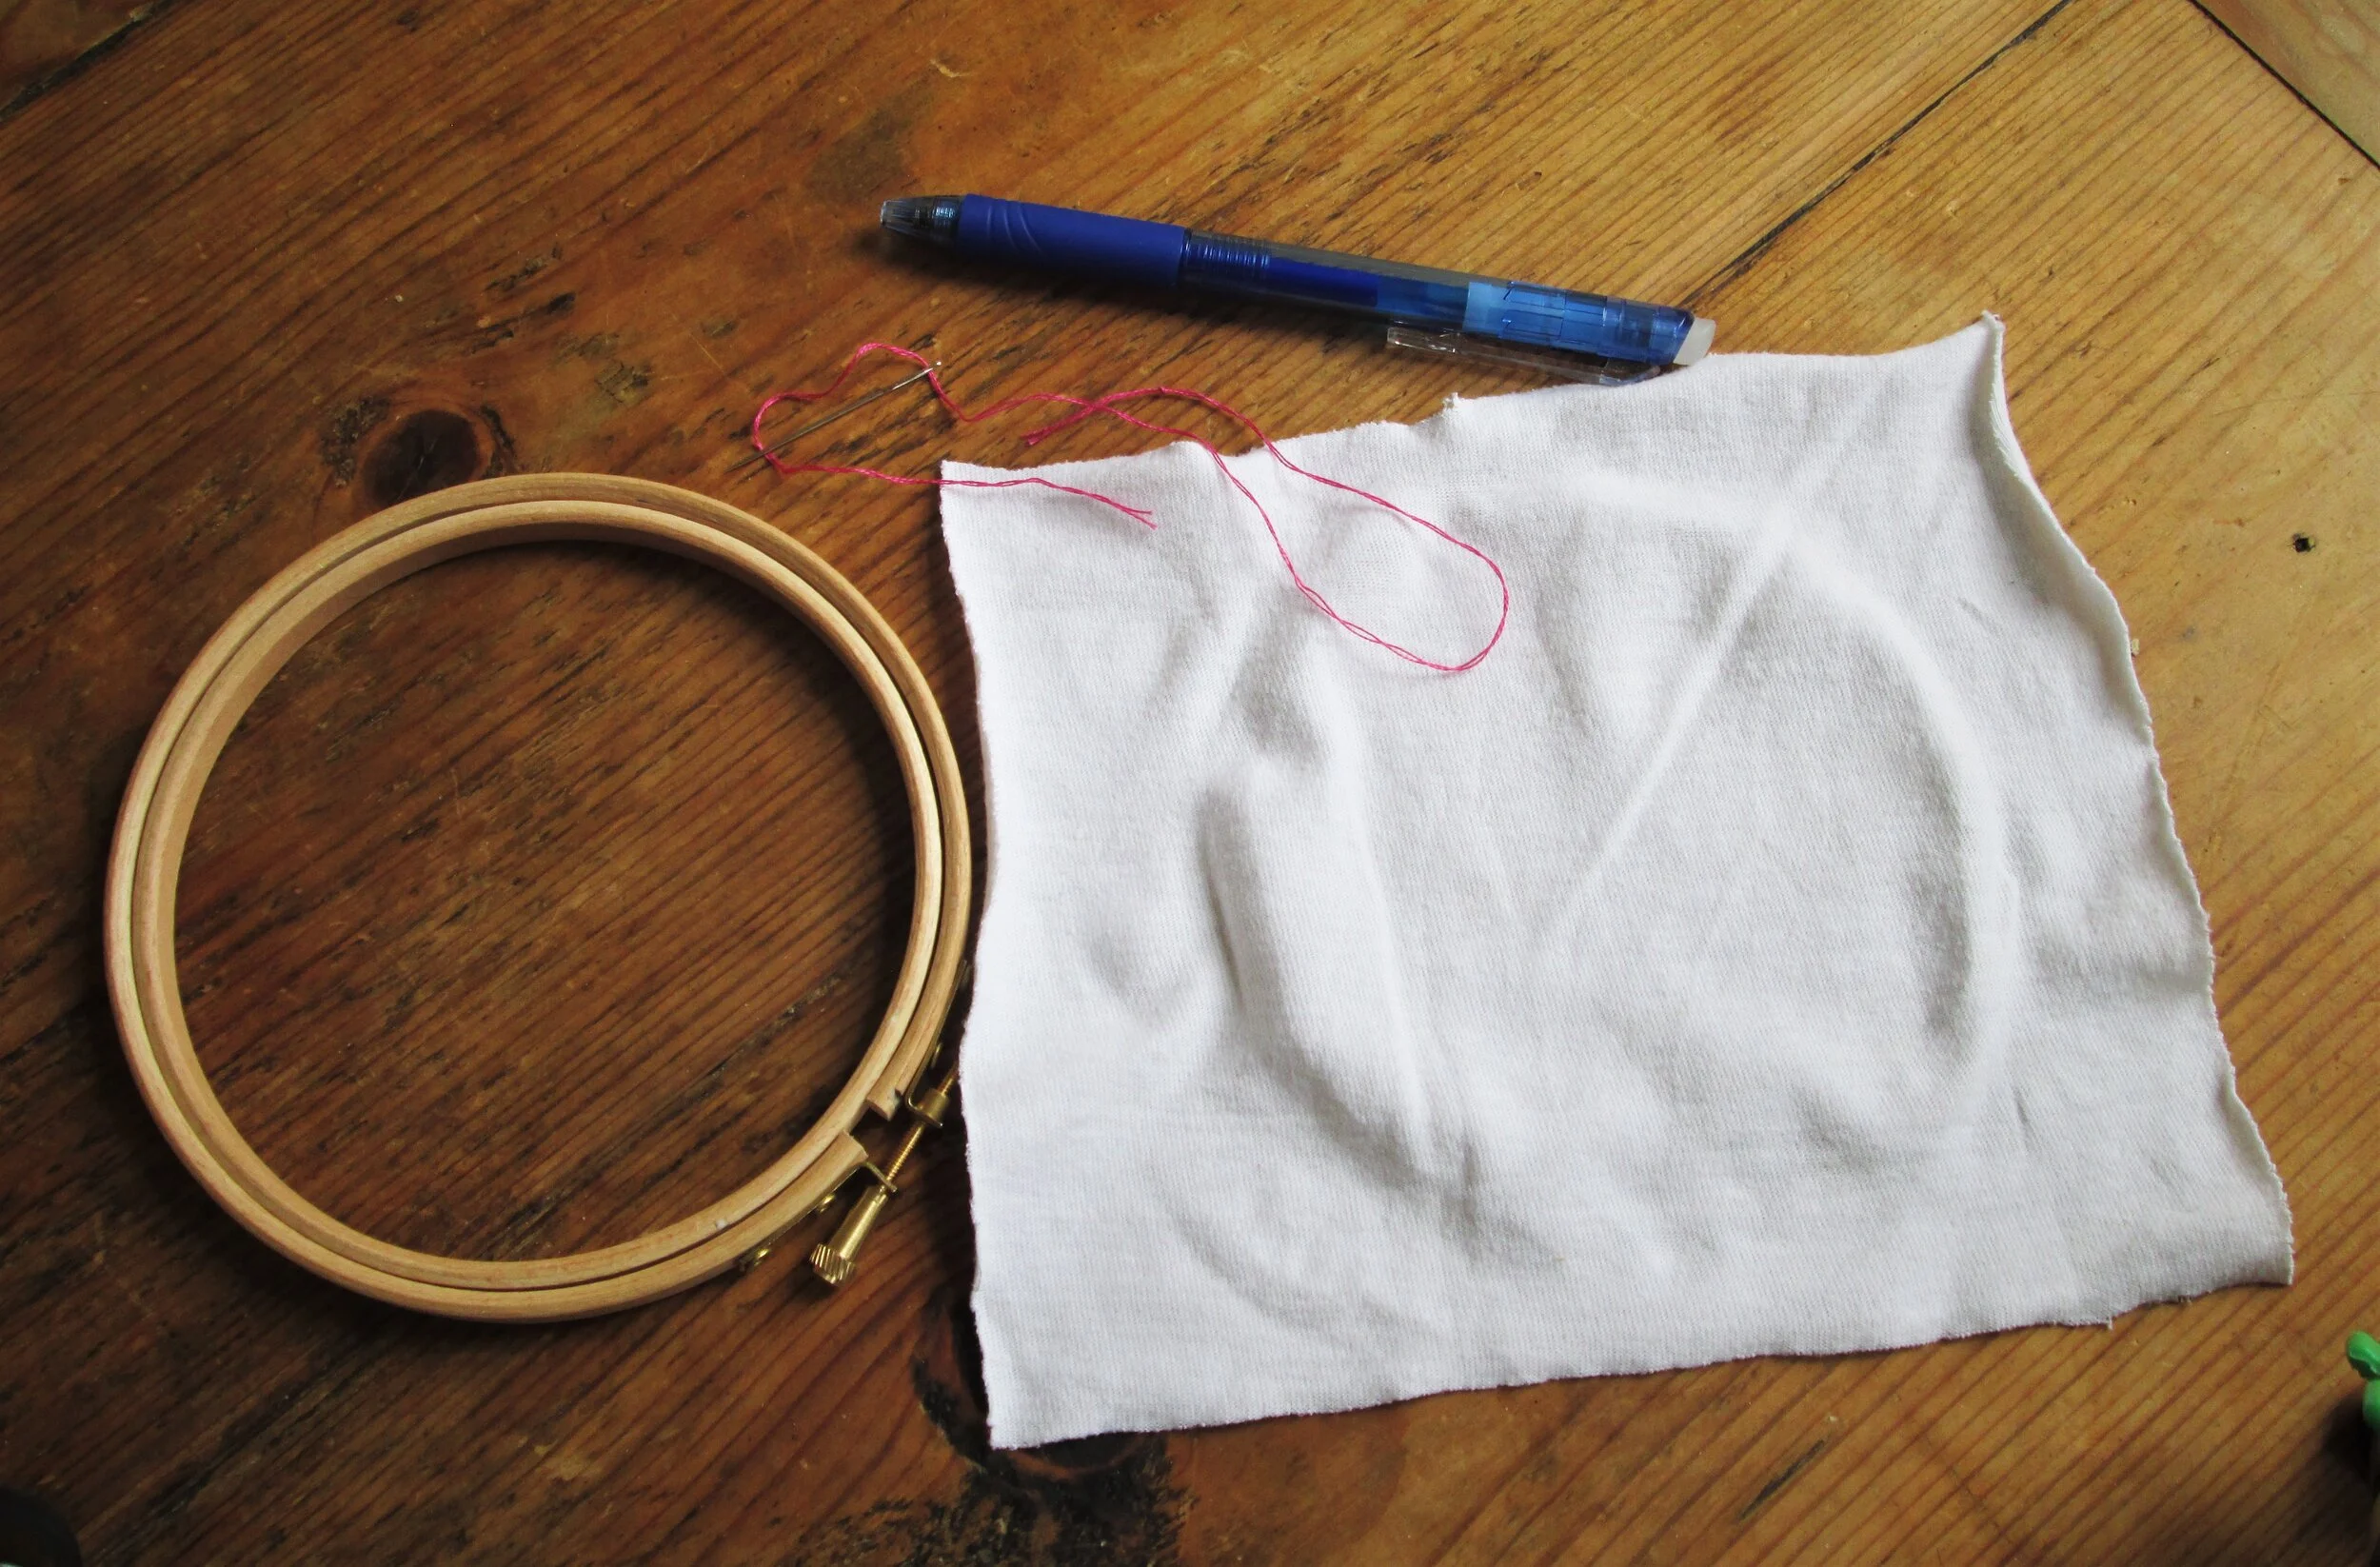
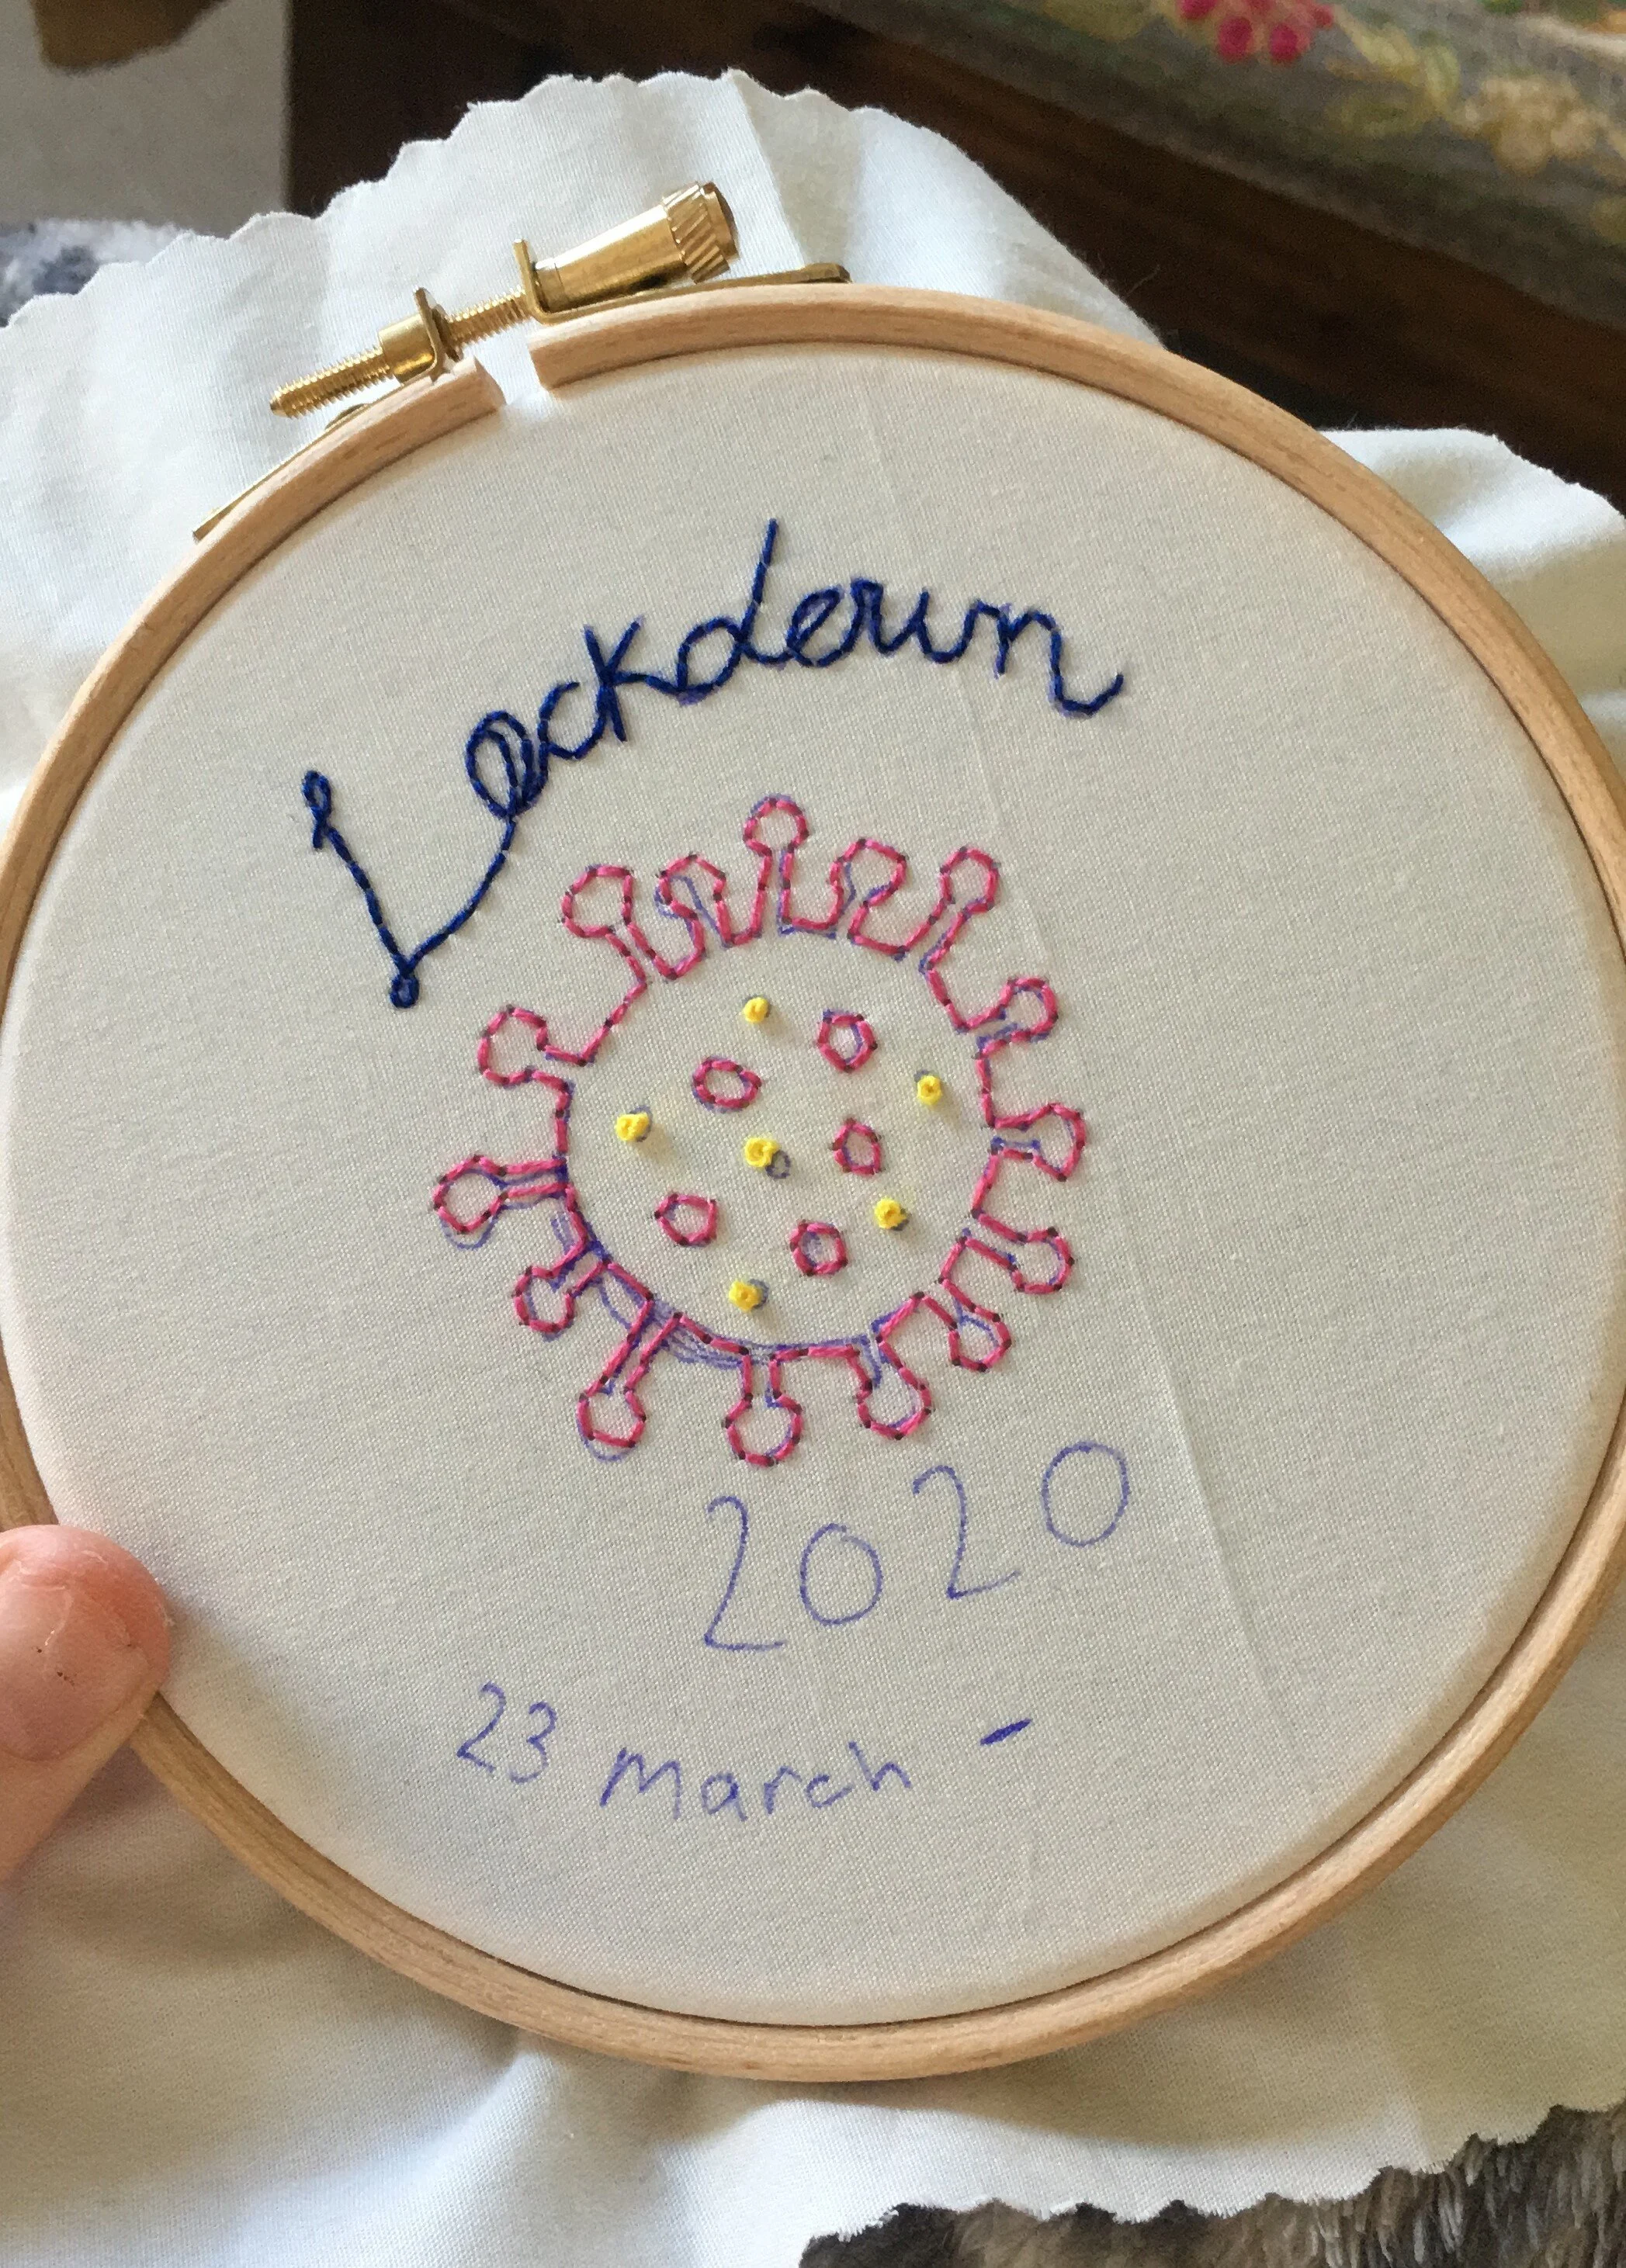
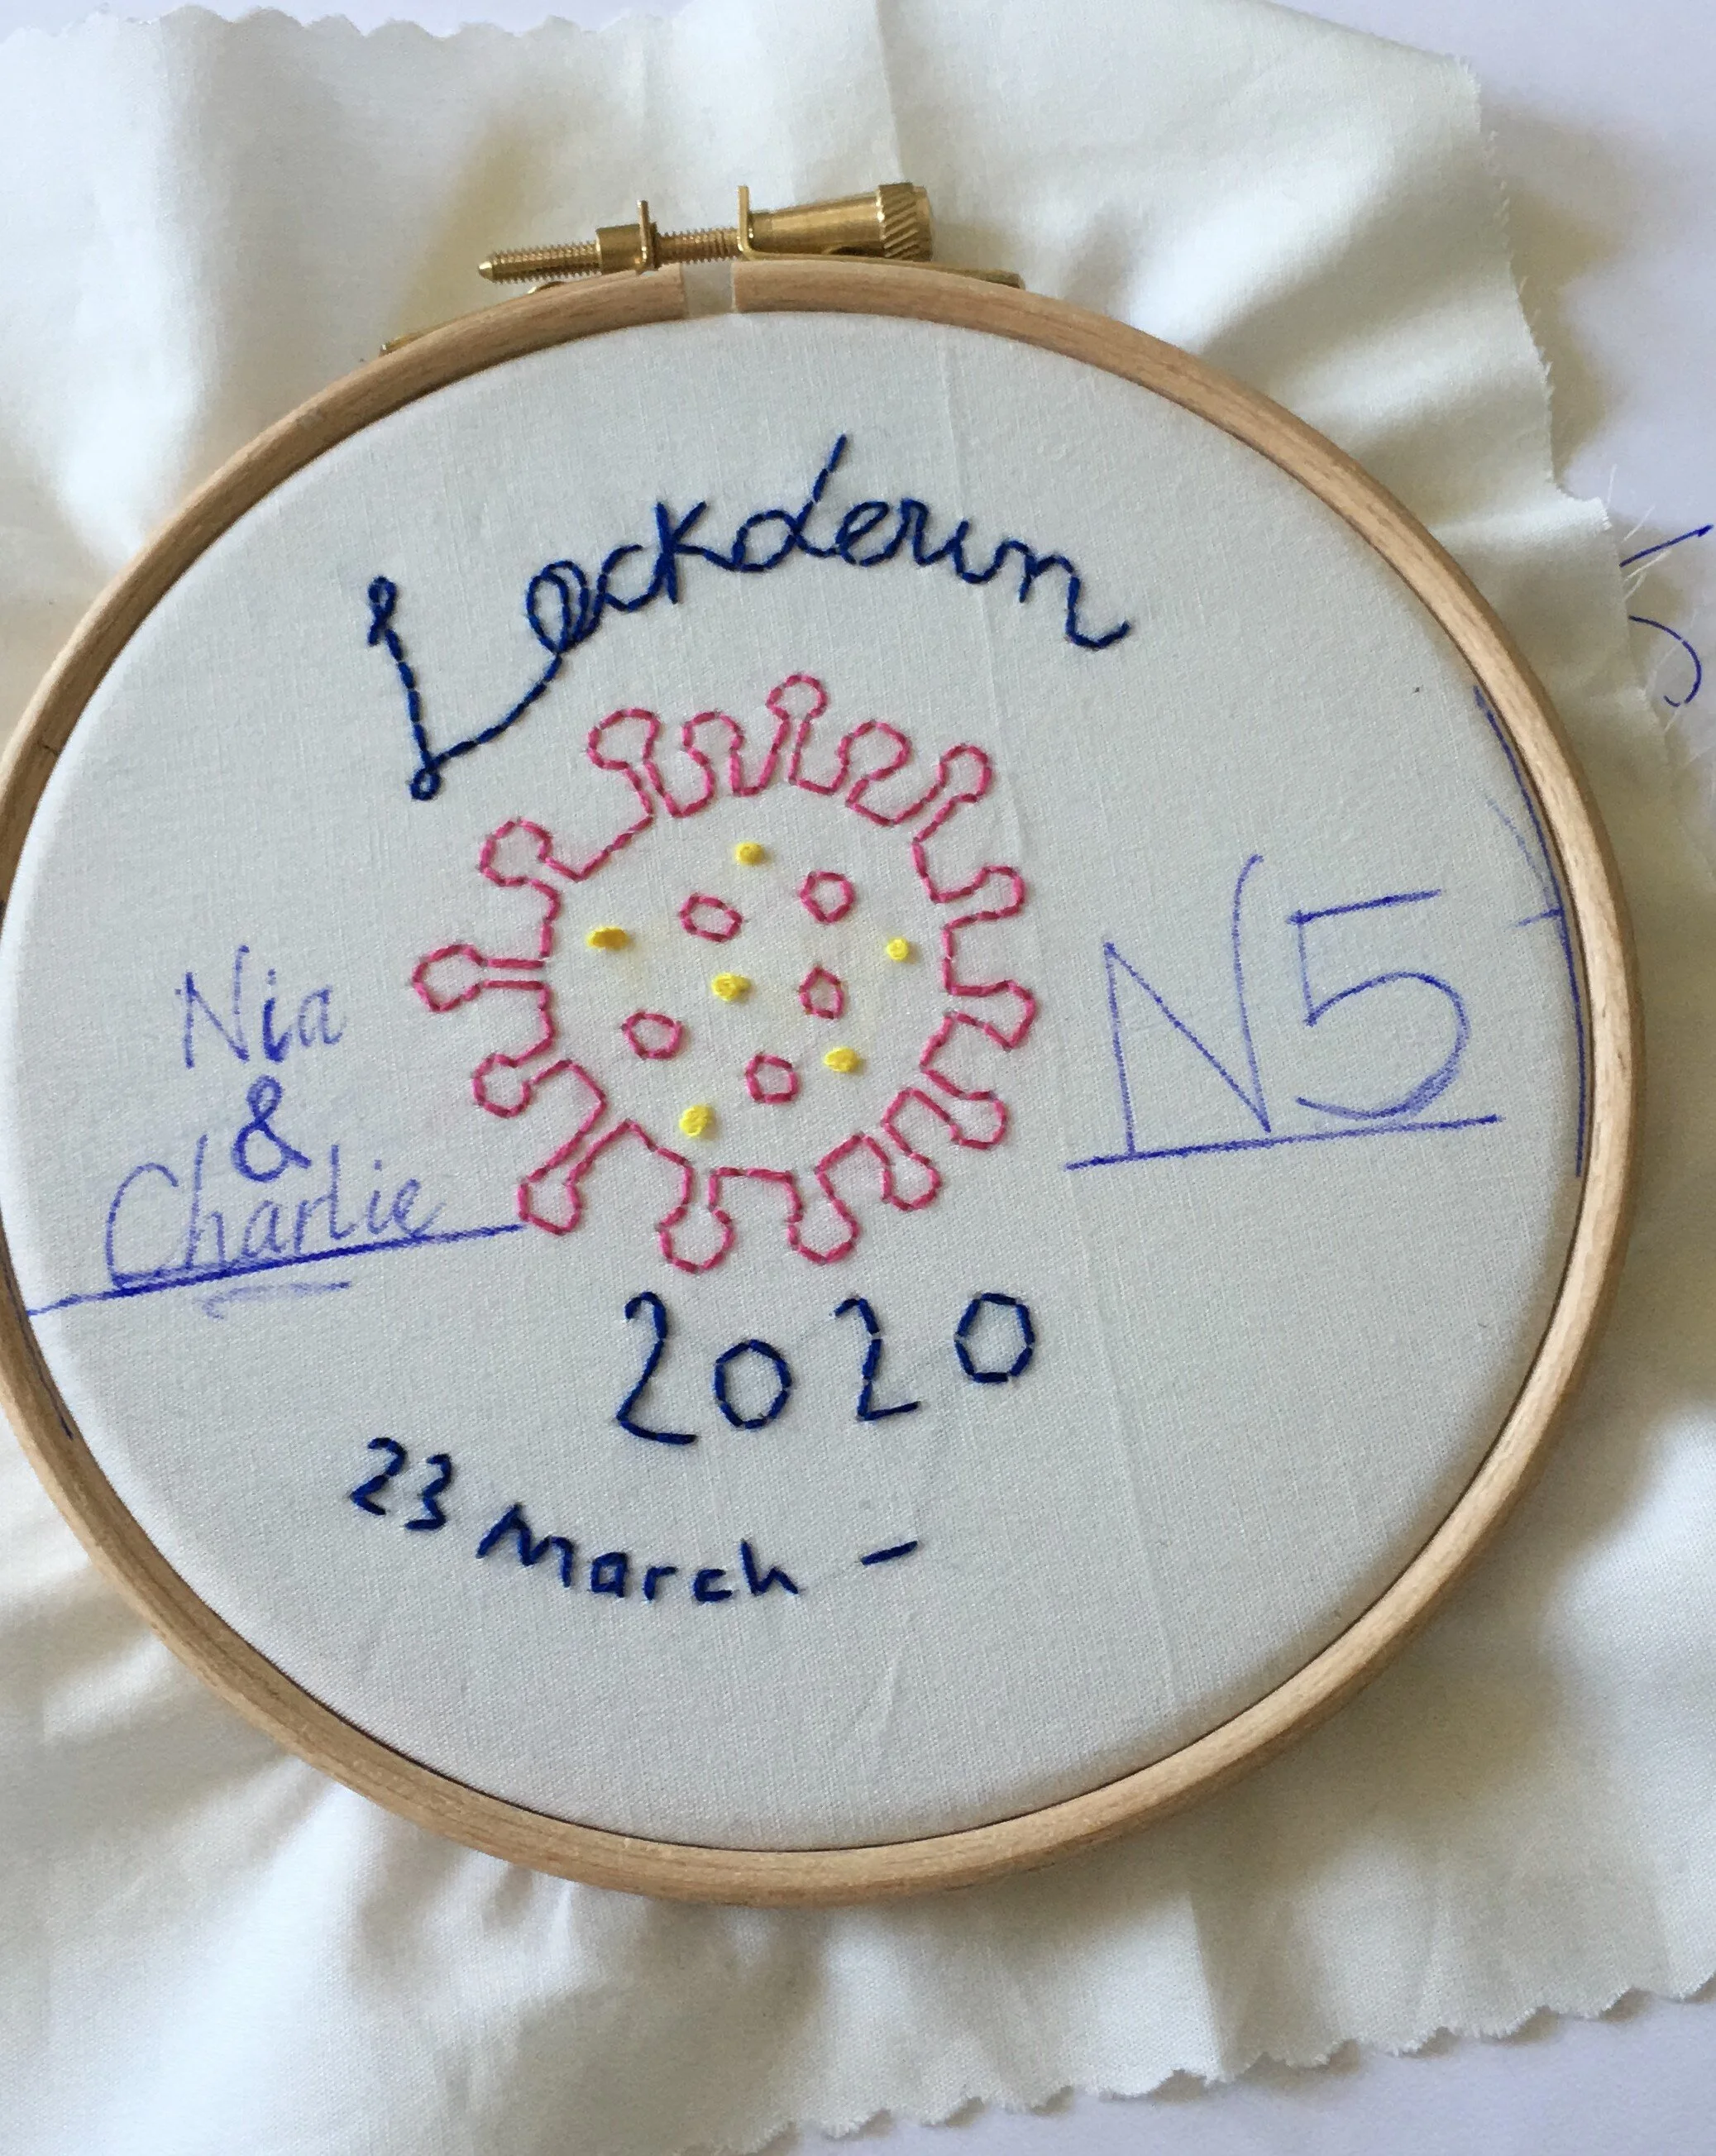
Start by drawing your design on paper with a normal pen or pencil. It might help to draw around the inside of the hoop so you know how big your working area is. I wasn’t really sure what to stitch so Charlie suggested the virus. It’s not my usual style but I think that’s why I like it. If you’re looking for ideas outside of the more popular floral designs, check out the craftivist collective - quiet activism for everyone including introverts.
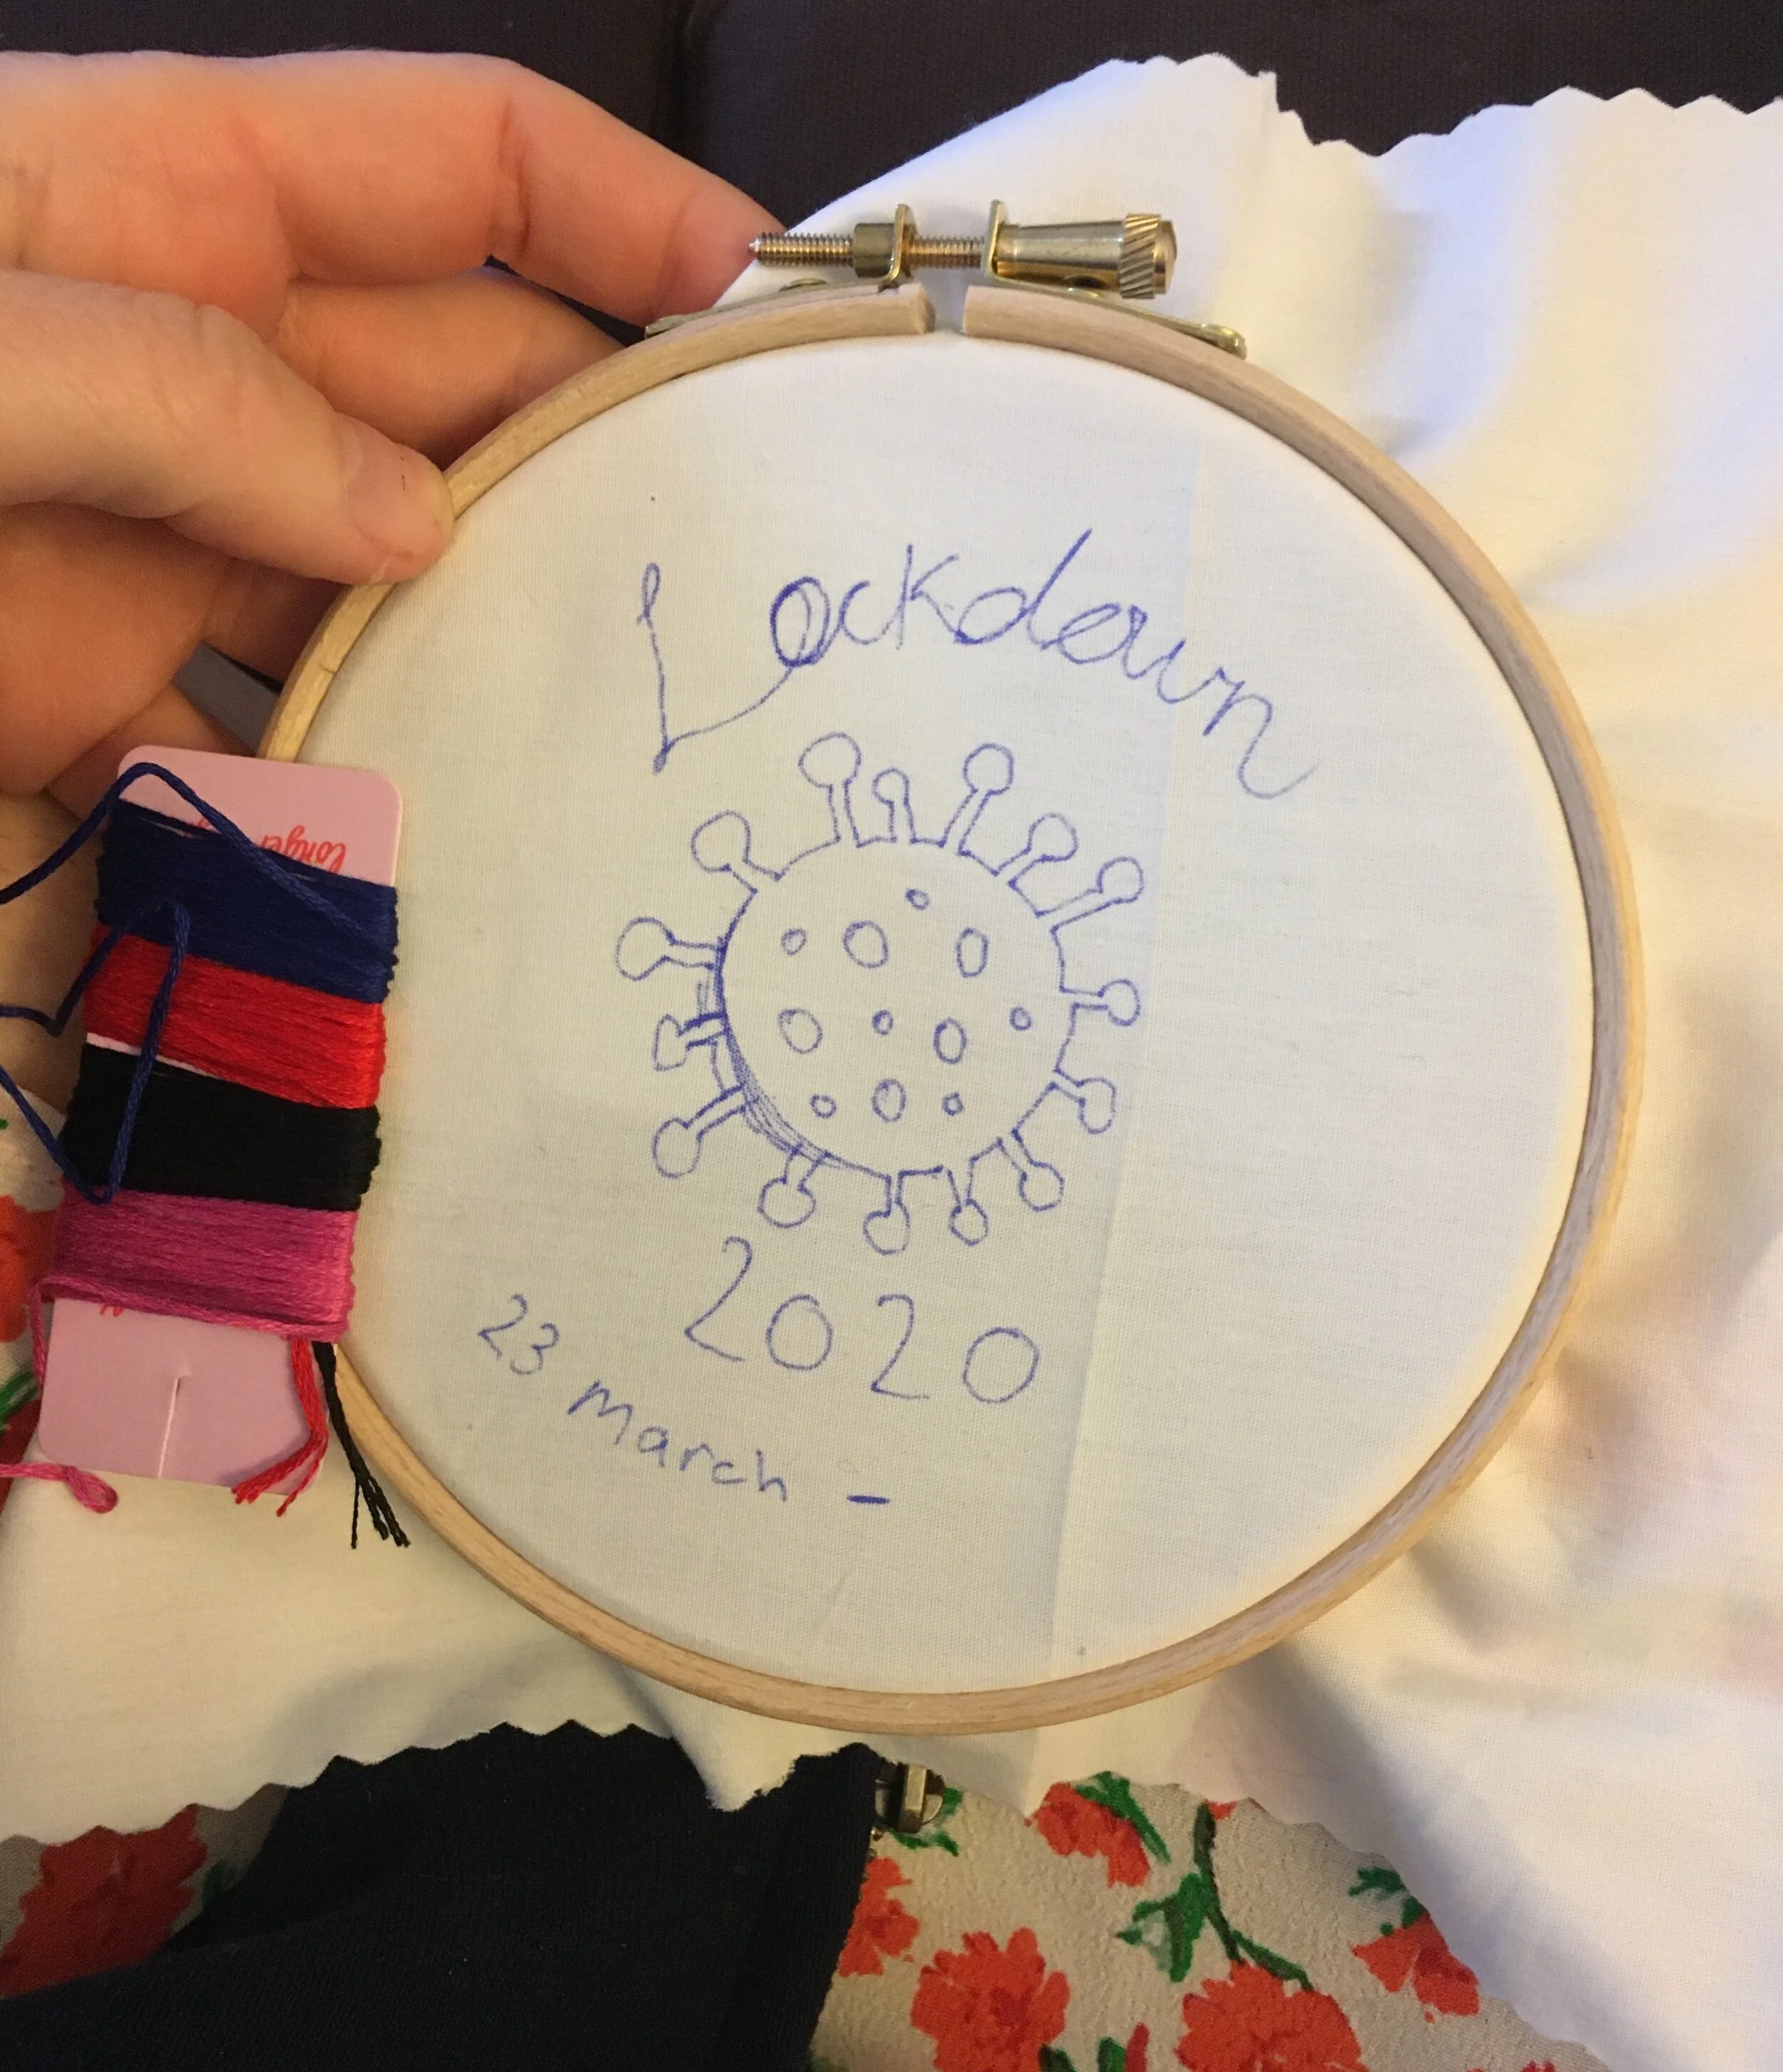
Once you have your design sorted, trace it onto your fabric using the erasable pen. Don’t worry about making mistakes, because can just erase them with the hairdryer! This is my main regret with the execution; I wish I’d taken more time to perfect the placement and the text. I rushed into it without making sure everything was centered and balanced. So take your time with this stage. Your drawing will dictate your outcome so get it right.
Once you’ve perfected your design on the fabric, you can set the fabric in the hoop and start stitching. Watch the video below to see how I set the hoop. You want it nice and taught so when you tap it, it sounds like a drum. You’ll hear the little drum sound at super speed if you listen carefully!
The tutorial that comes with Claire’s beginner kit teaches you how to do backstitch which is the main stitch I used for my hoop. But I also wanted to include french knots, which are the little yellow bunches inside the virus. When I bought my kit, Claire didn’t have her other kits available which include all the other knots, so I’ve included them in the quick video below too.

A few tips to bare in mind when stitching
Once you’ve cut your length of thread to stitch with, separate the strands so you’re stitching with two at a time instead of six. This will look more neat and less bulky.
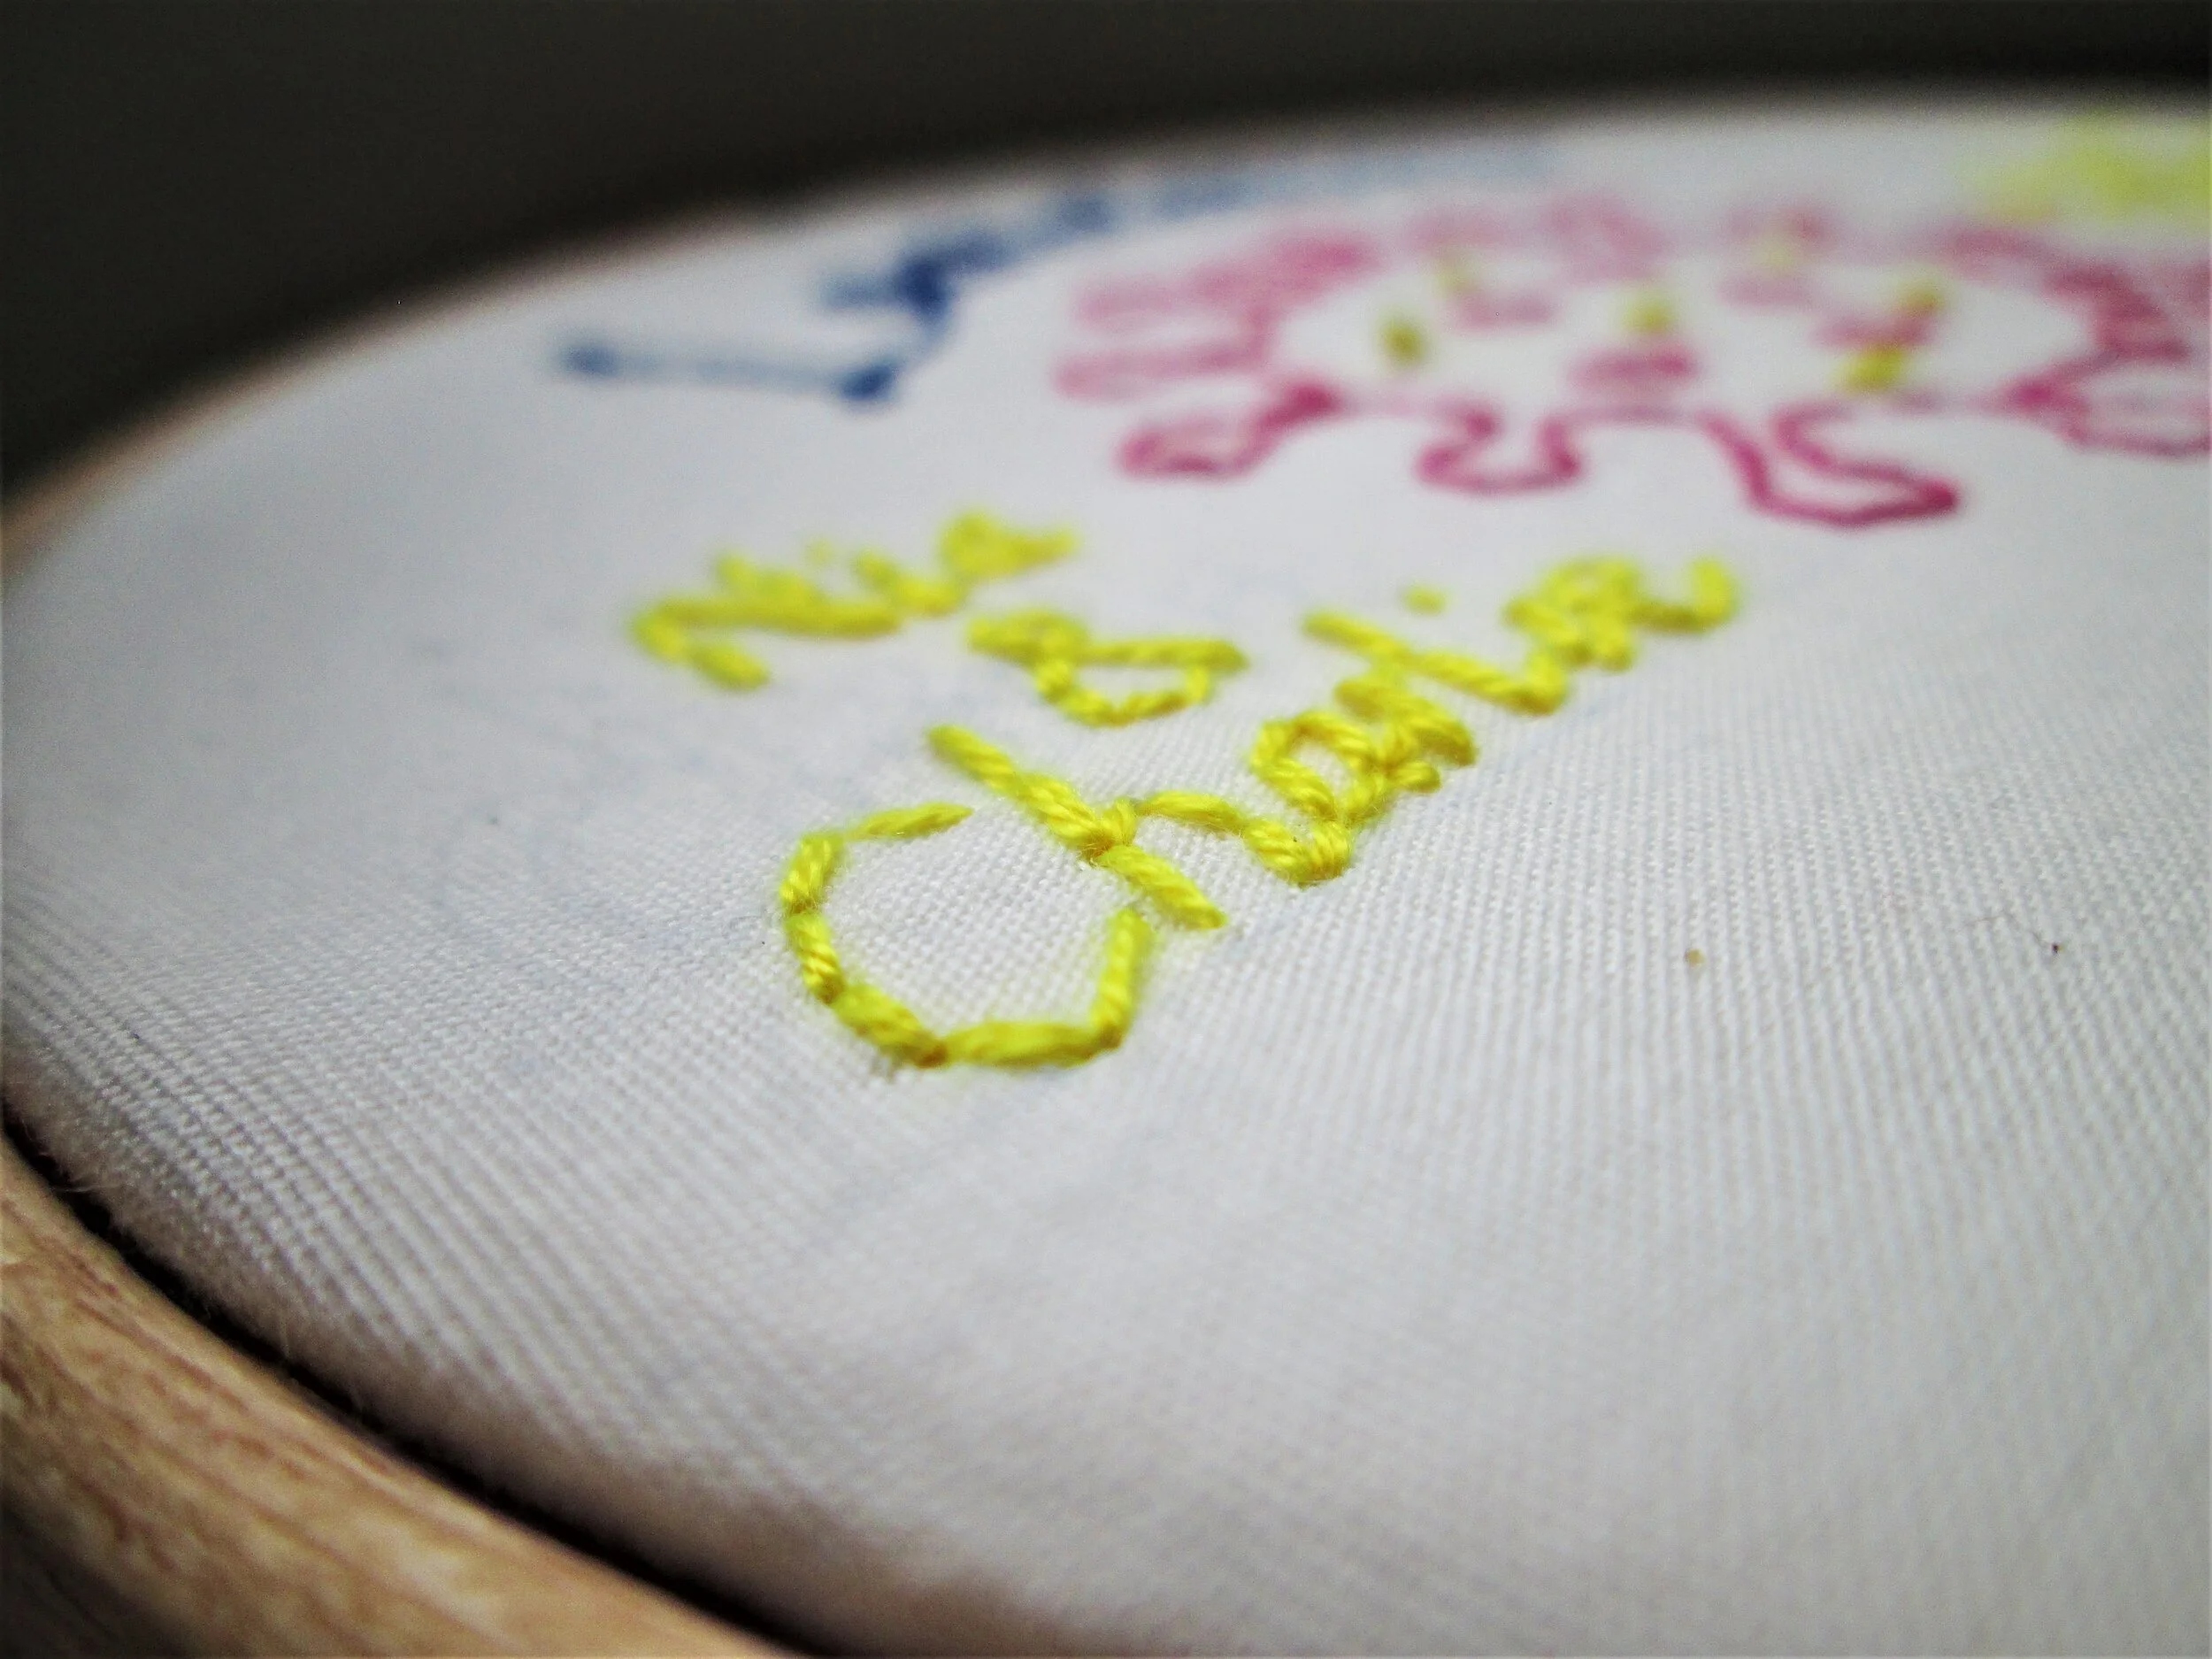
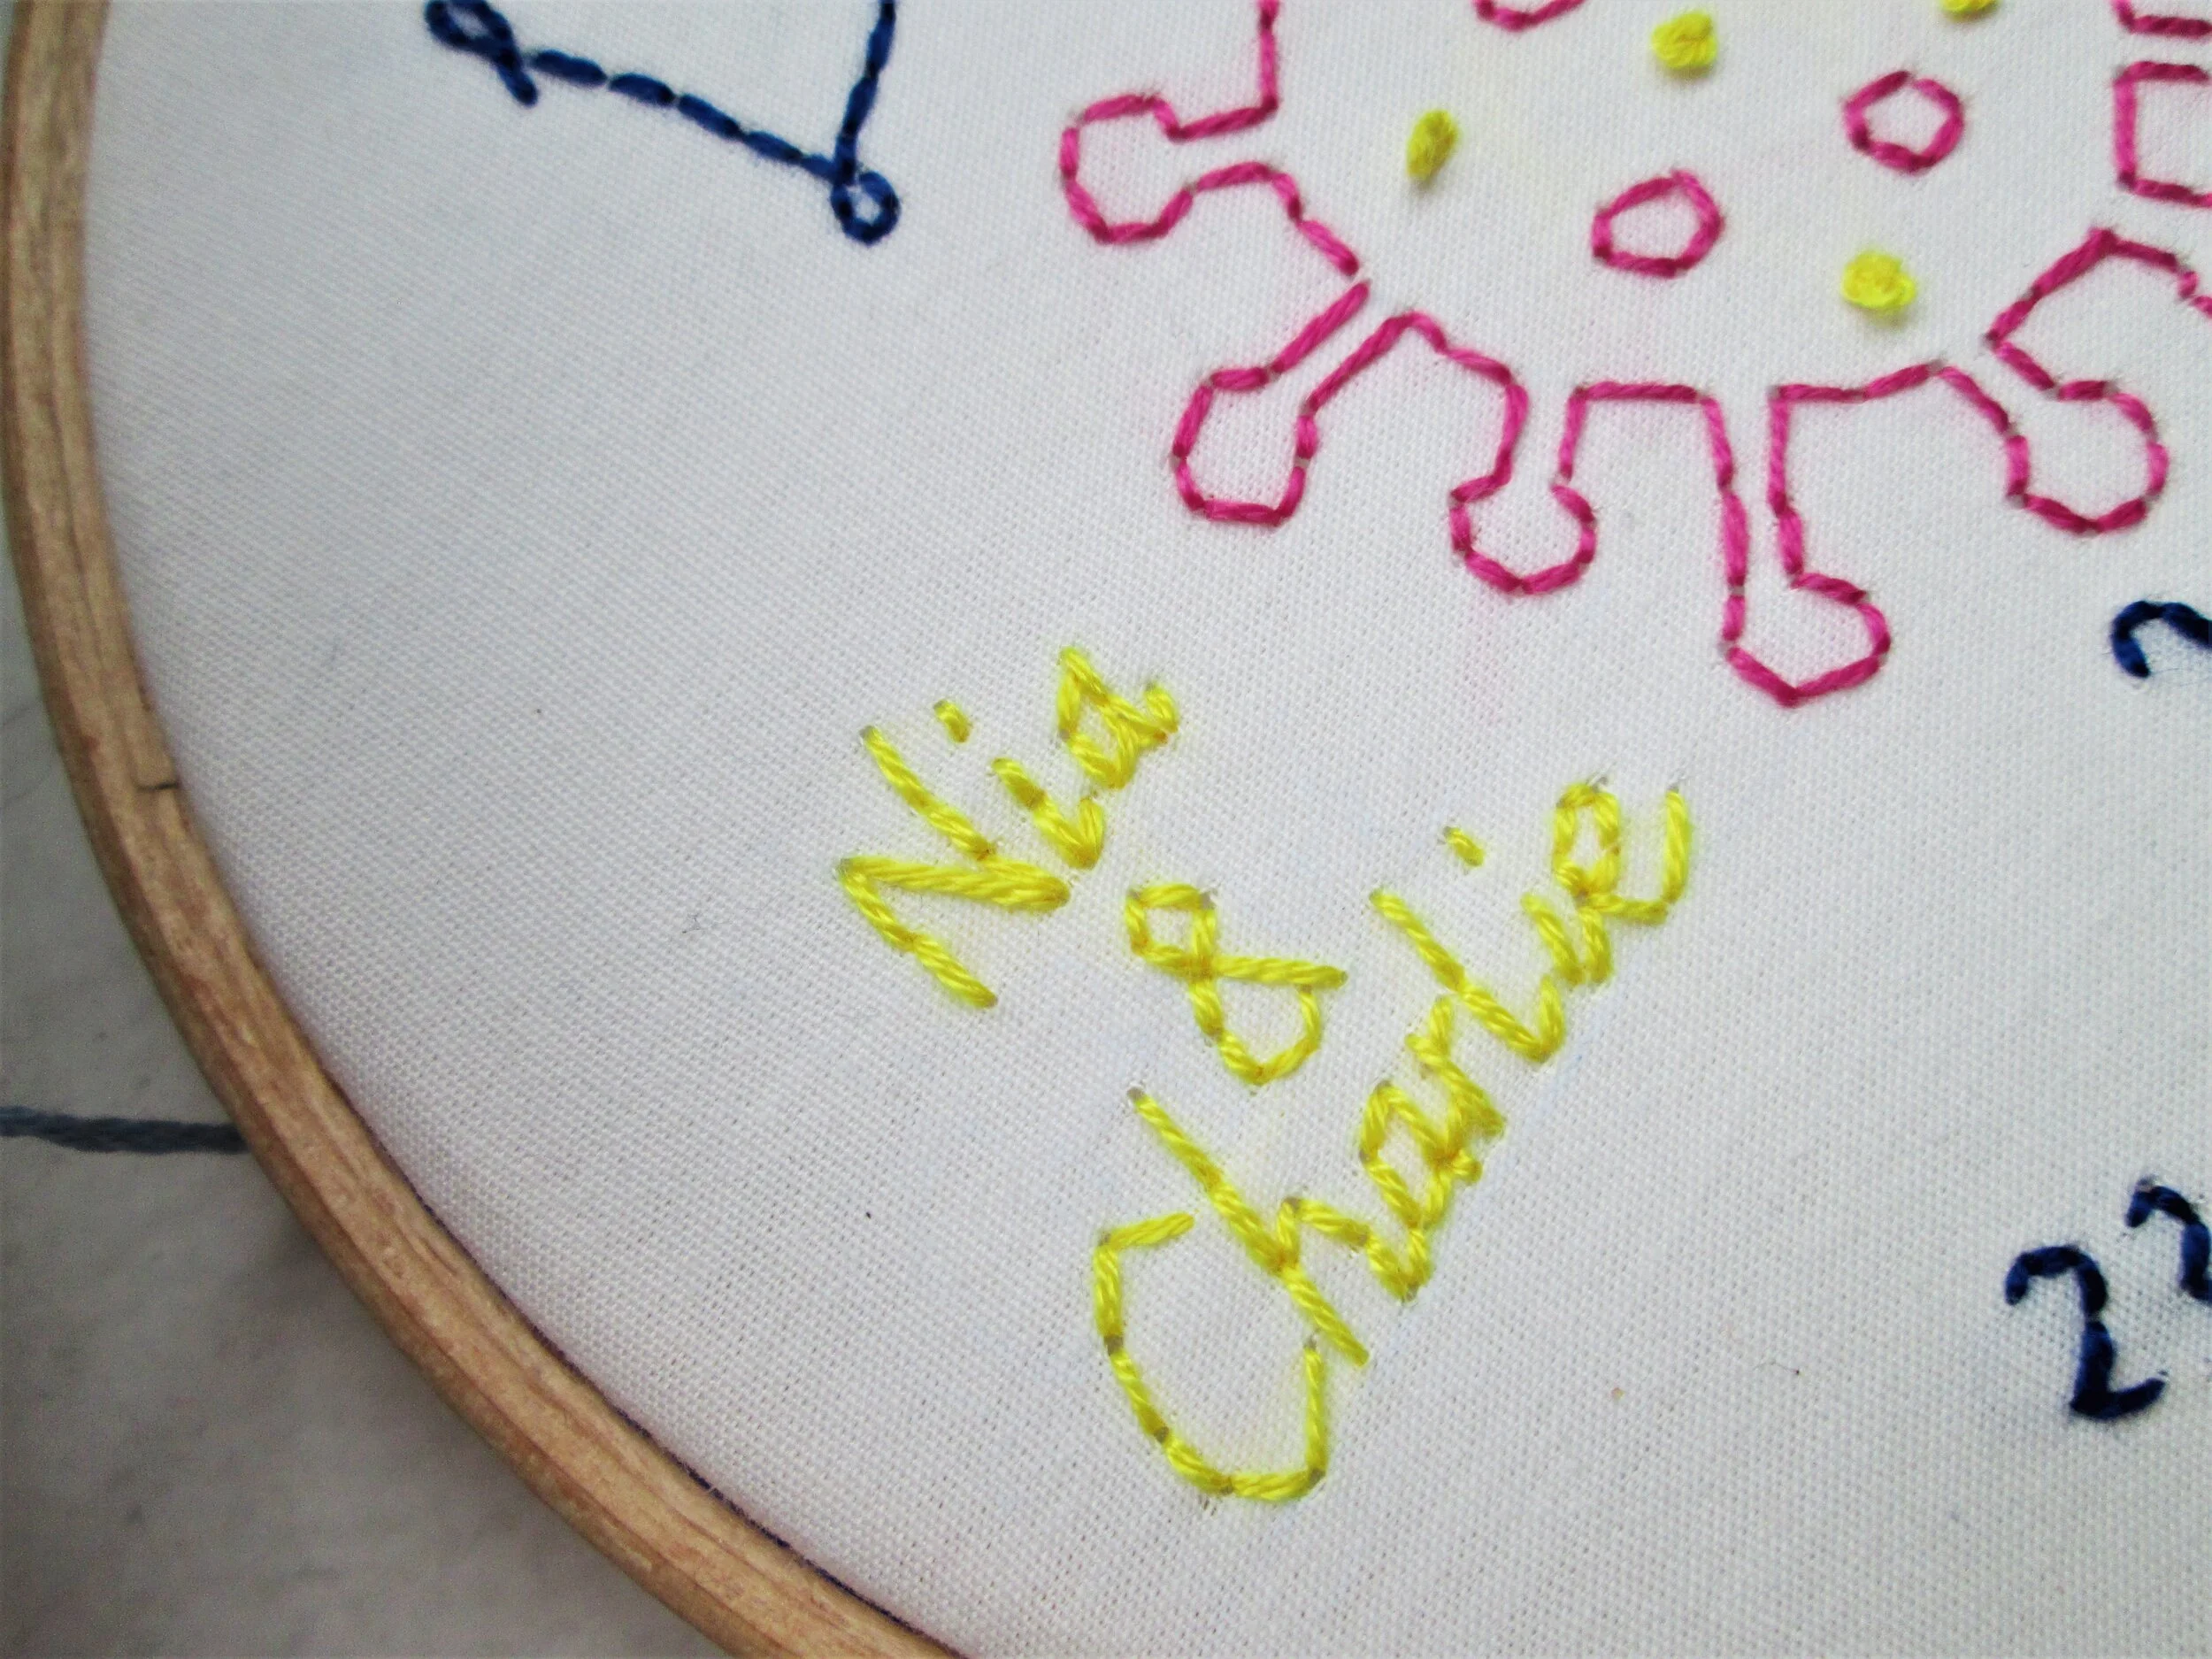
If you’re trying to get around a tight curve you can make your stitches much shorter. If you look at the picture below, you can see I’ve made the stitches very close together around the round bits of the virus. It may not look all that neat from close up but it looks much better from far away.
When you’re doing the backstitch, try and get the needle to go back into the end of the previous stitch. I missed it a few times and it made my stitches look wonky.
When you do the french knots, try not to go back through the hole you came up through. As you can see in the video above, if you do this your knot can slip back through. Push the needle back through as close as possible without actually going through the same hole.
When you’ve finished, you can trim all the excess material from behind. I’ve seen Claire use a glue gun to stick the fabric down on the back of the hoop and make it really neat, which I would do if I had one. Just be really careful not to get any glue on the design if you do this.
Now I’ve grasped some basic embroidery stitches I would really like to have a go at making an embroidered doll for my nephew. I’ve seen some amazing work on Instagram and Pinterest and of course I know I’ll never be on that level but how sweet would it be to have a hand embroidered doll from your aunty. I’m pretty sure Macsen won’t remember and if he’s anything like his brother, he will lose it within 6 months. But it’s still worth it! Check out @likeasugar_toys for a bit of inspo and a low cost pdf tutorial, and of course the amazing Megan Ivy Griffiths for the cutest embroidery.