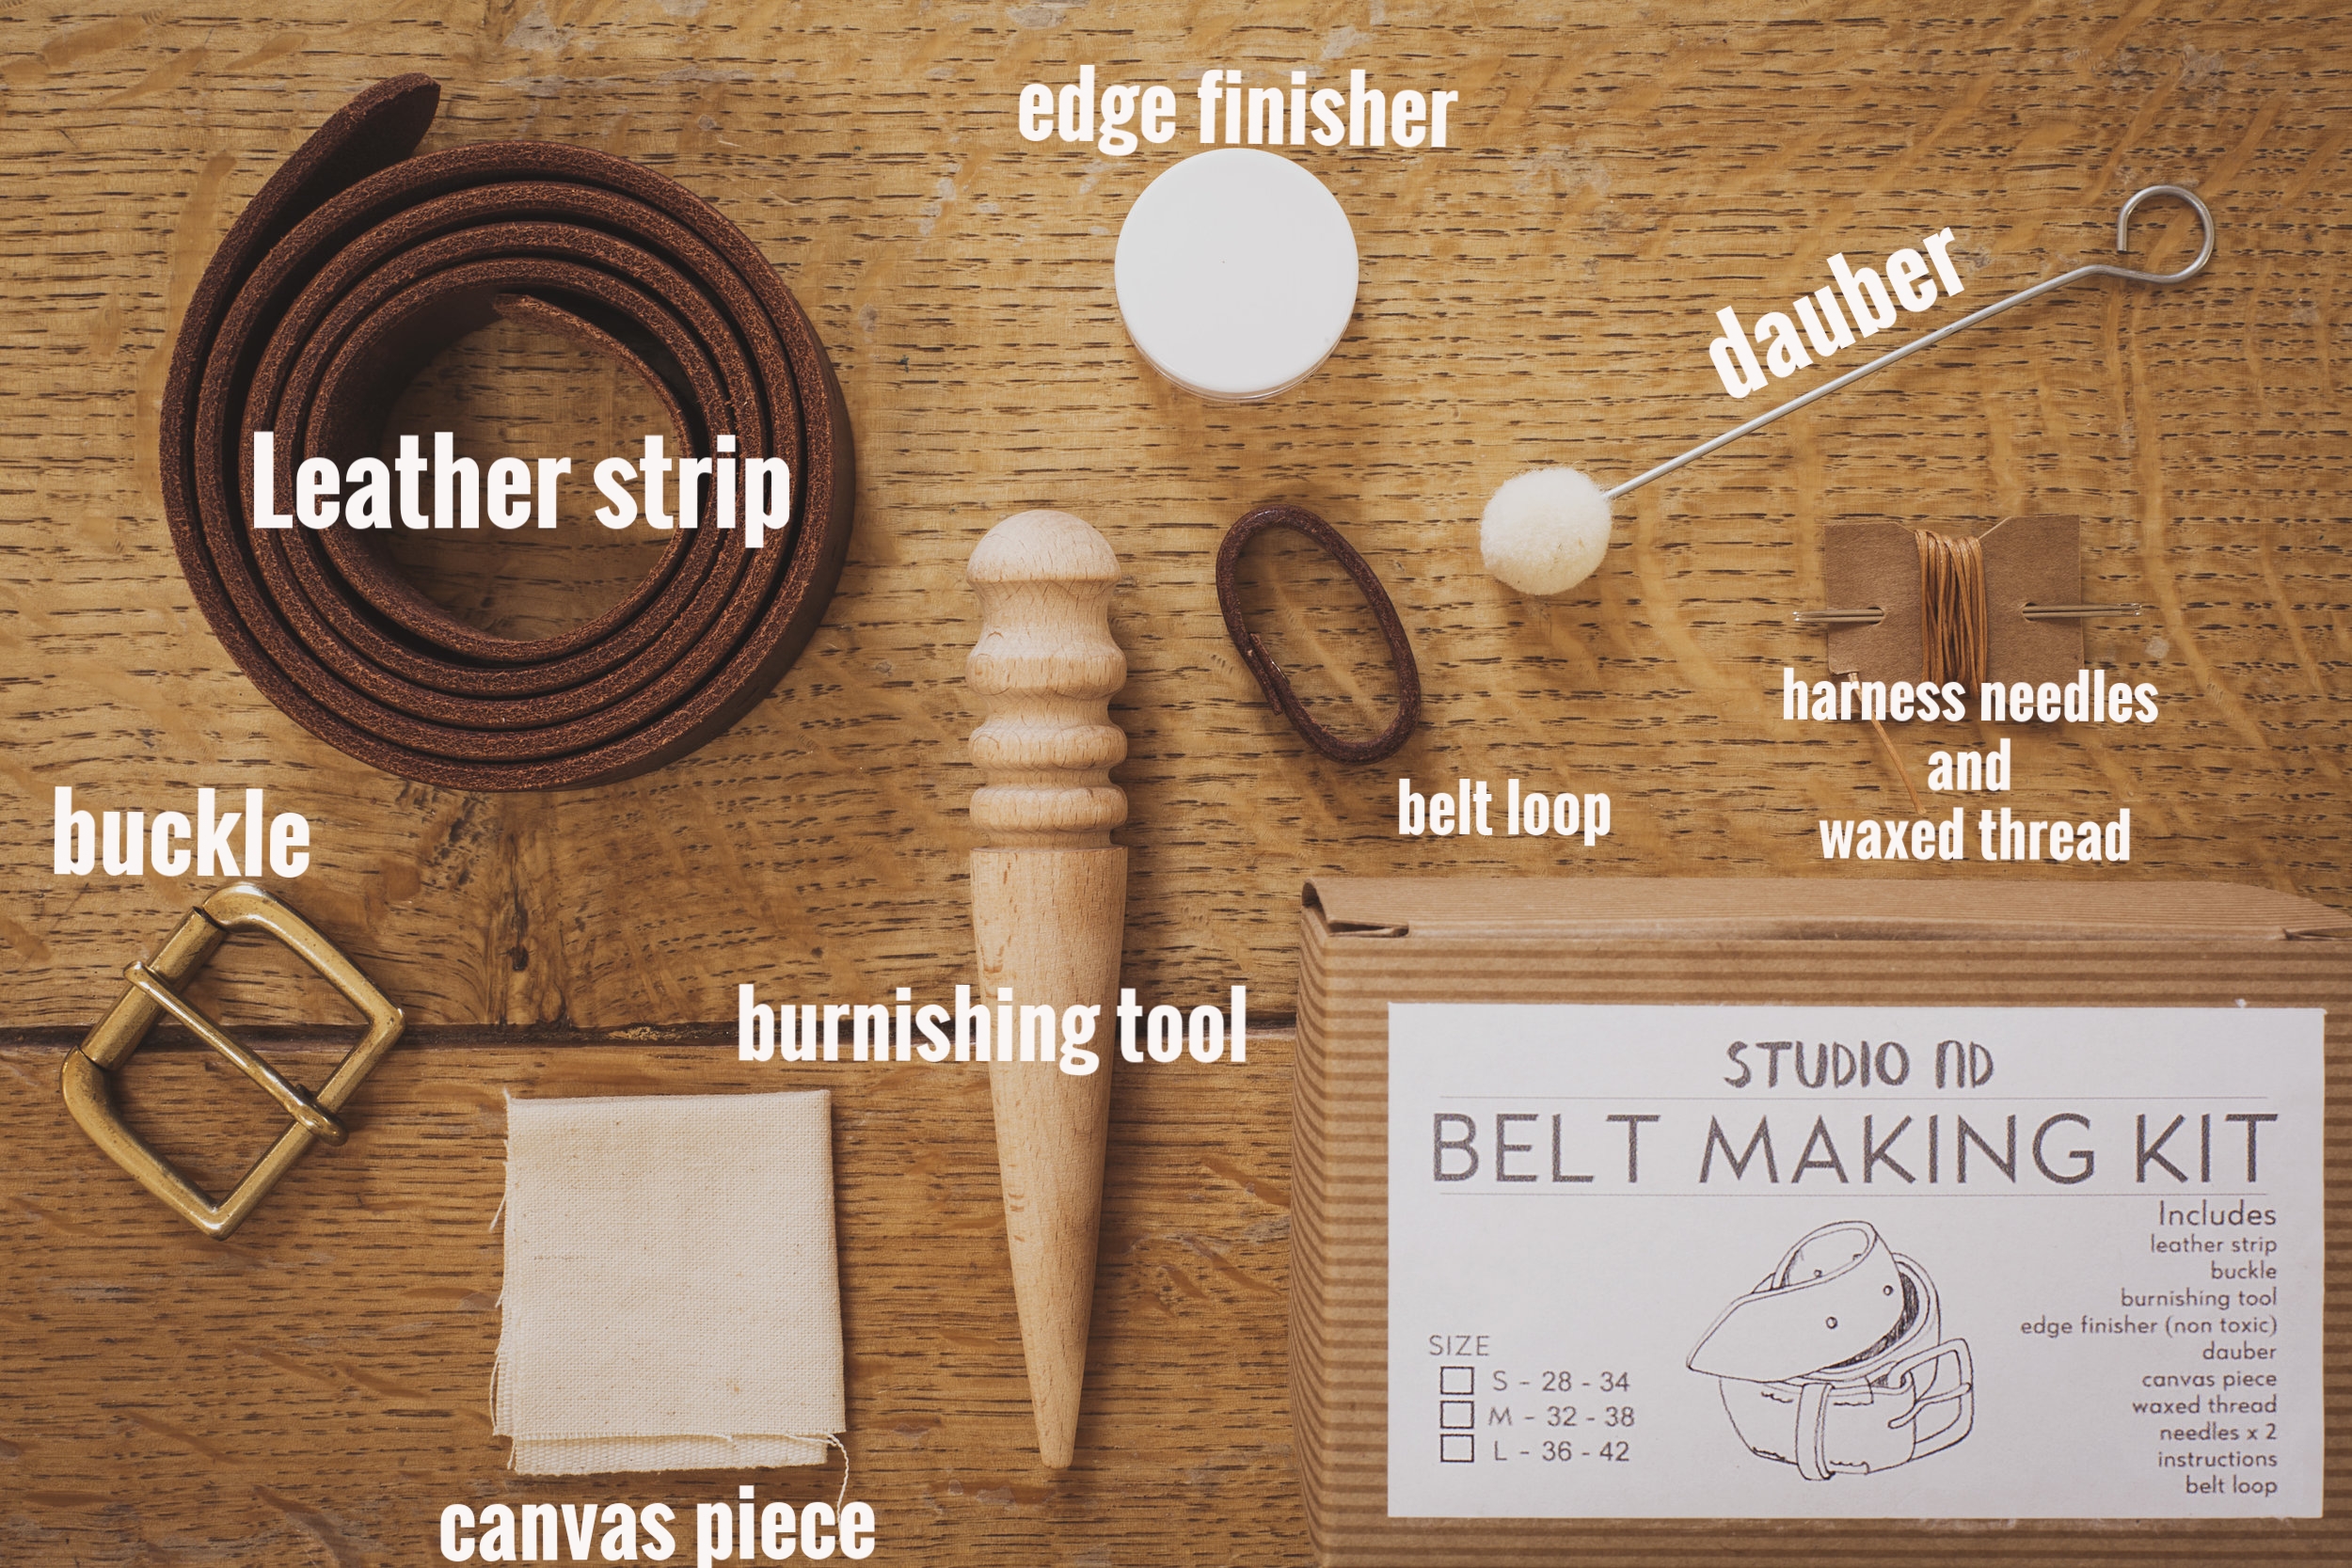
Belt Making Kit Instructions
Thank you for buying the Studio ND Belt Making Kit. Below are step by step instructions with pictures and videos to help you along the way. Some of the steps may seem challenging but trust me, it will be worth it in the end. The whole process should take three or four hours but there are no time limitations so work at your own speed. You will need a pair of scissors or a craft knife and a pair of pliers for this project. Start by opening the box and familiarising yourself with the tools and materials.

1. The first step is to burnish the edges of the belt to give it a finished and professional look. Burnishing is the process of polishing by rubbing. Start by dipping the dauber into the edge finisher and coating just the edges of a 5-10cm section. You will only need a light covering, don't soak the edges or you will be making more work for yourself.
Leave to dry for a few seconds and then use the burnishing tool to round the edges and seal them. Do this by choosing the groove best suited to the width of the belt and rubbing backwards and forwards quickly, creating friction and heat. Continue working in sections until you have worked your way all around the belt. The video below should help you to understand the process a bit better.
2. Working in sections again, seal the edges further using the canvas piece. Do this by rubbing the edges quickly with the canvas whilst applying pressure. This is done by placing the belt flat on the edge of a cutting mat or board and rubbing whilst pressing down with your index and in with your middle finger. Do both sides to achieve an even shine and finish. Work your way all around the belt again. Your edges should now be lovely and shiny.

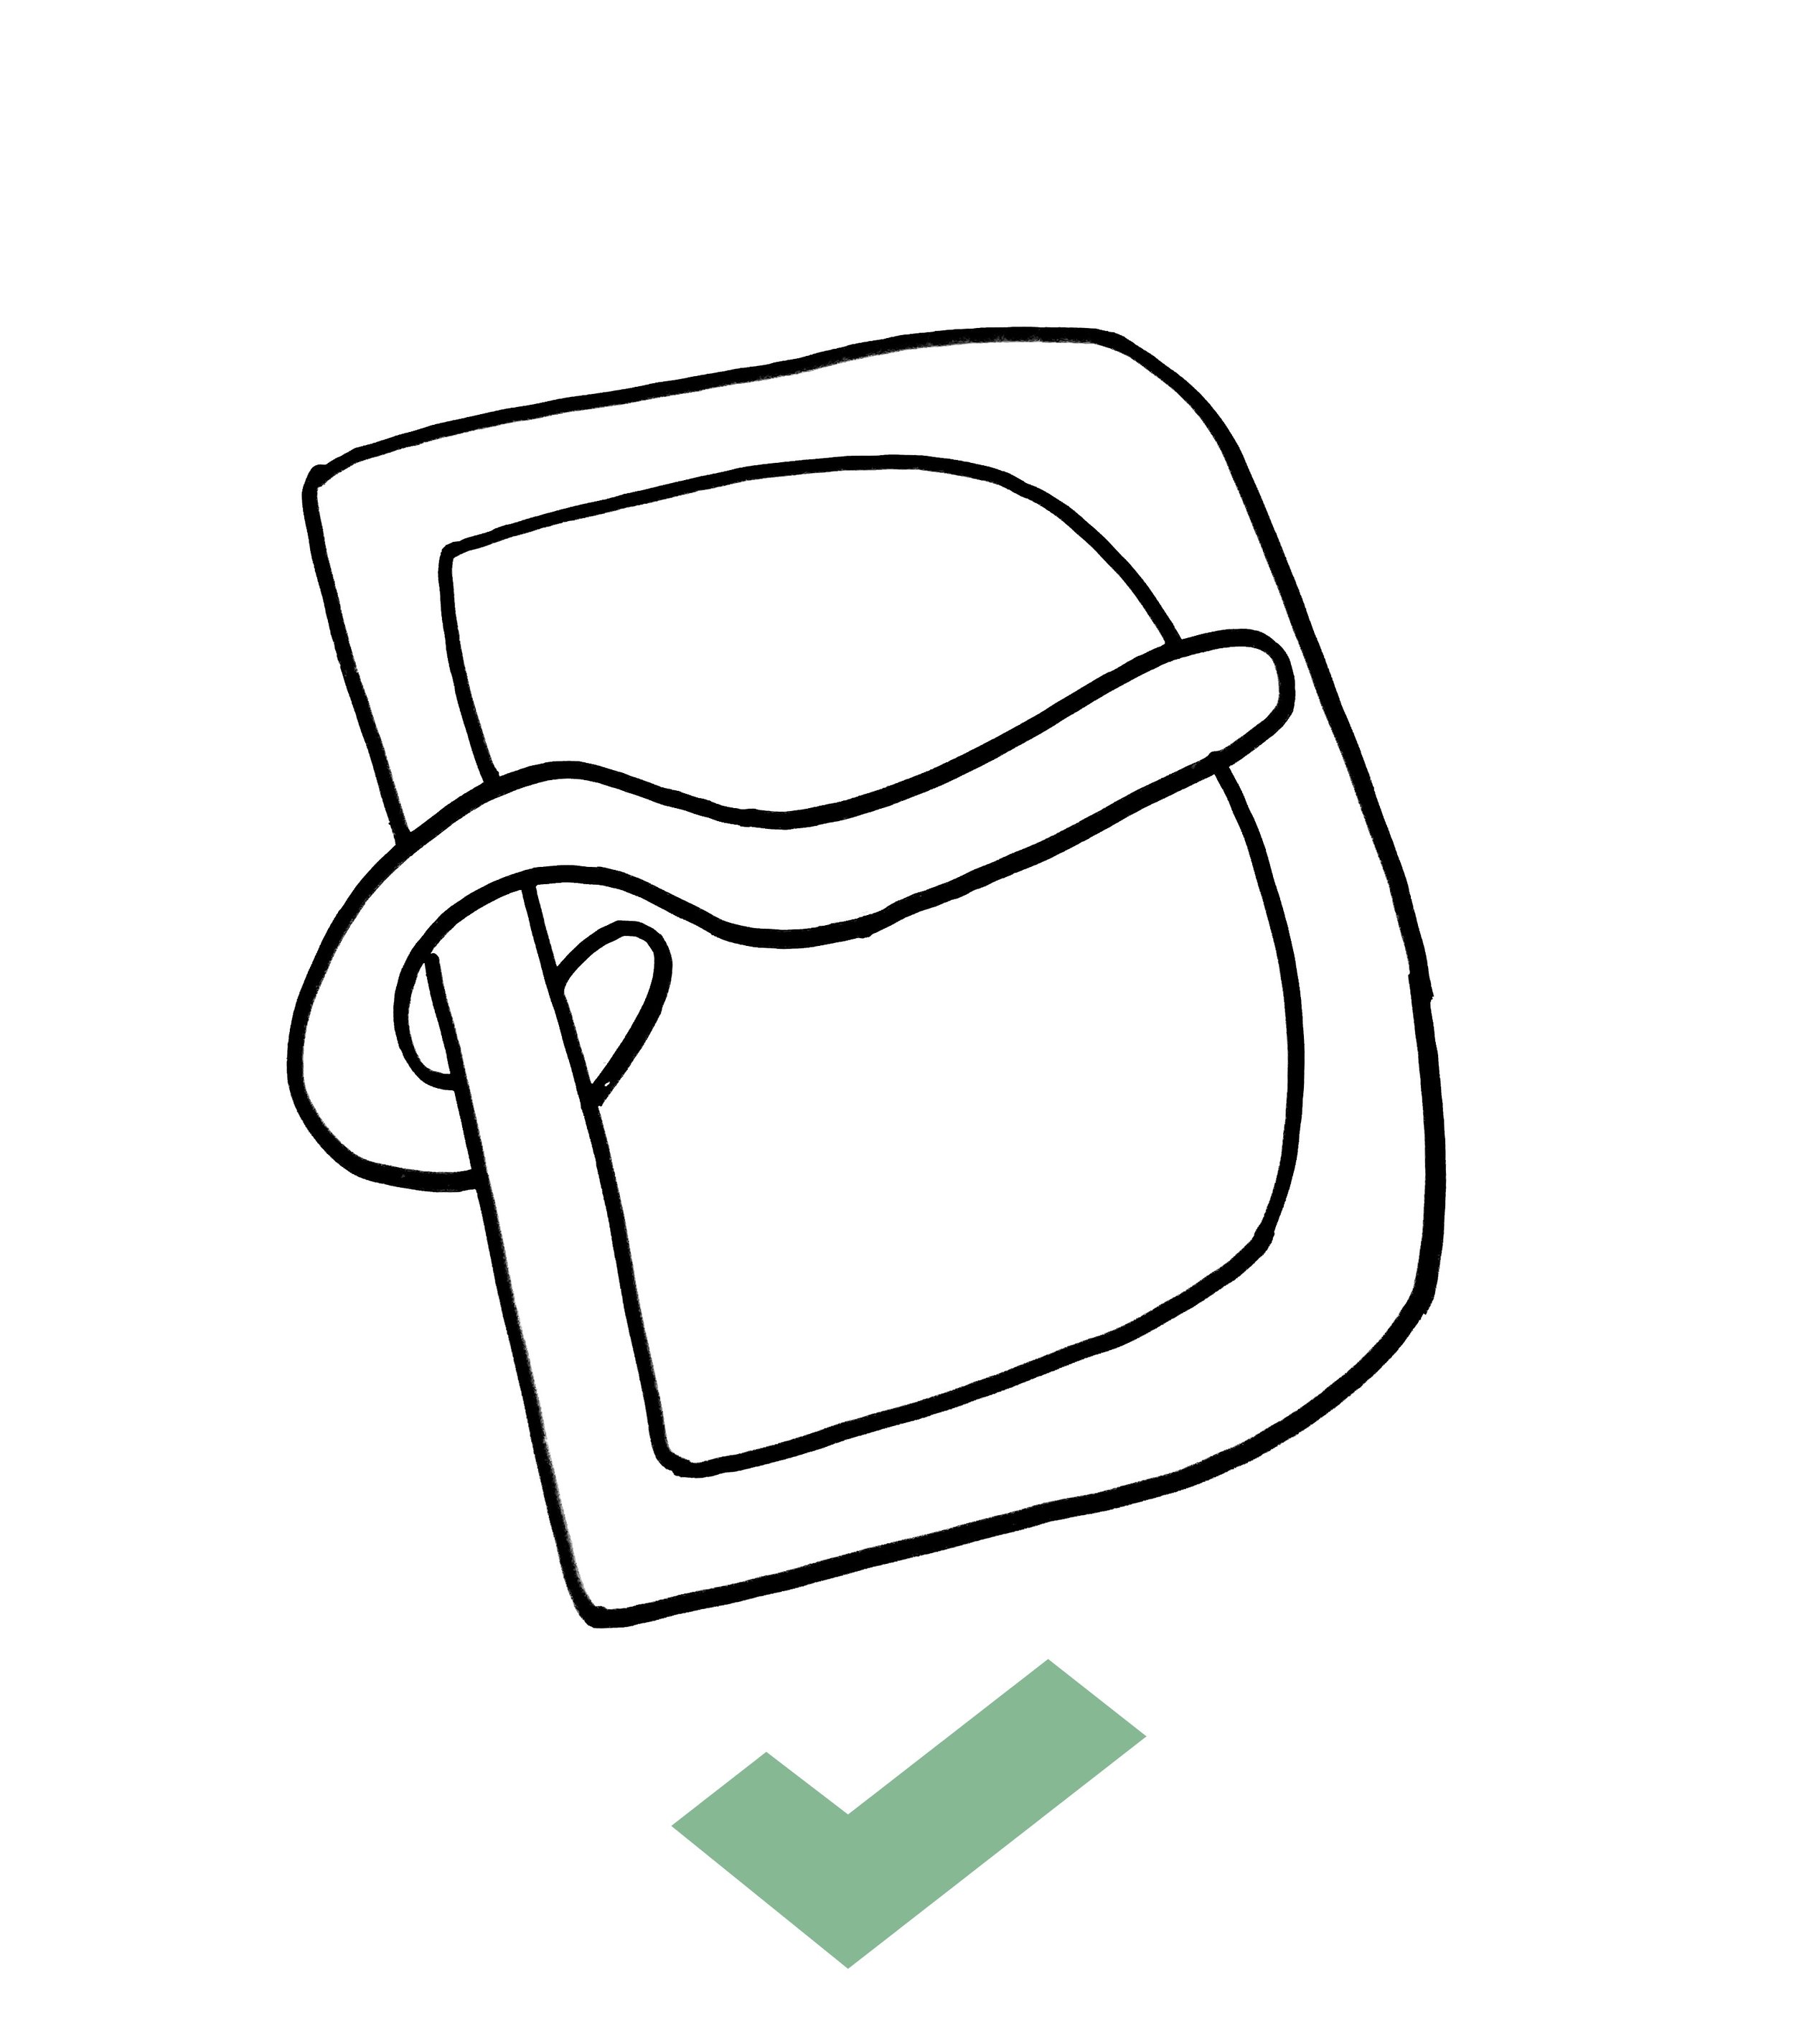
3. Thread the buckle onto the end of the belt ensuring it is the right way round. The pin should be on top with the gap underneath. You are now ready to start stitching.

4. You will have two needles and one length of thread in your kit. You will be doing a ‘saddle stitch’ which is done with two needles at the same time. Thread the needles using the technique shown below. The knot at the eye of the needle will ensure it doesn’t slip off as you are stitching.

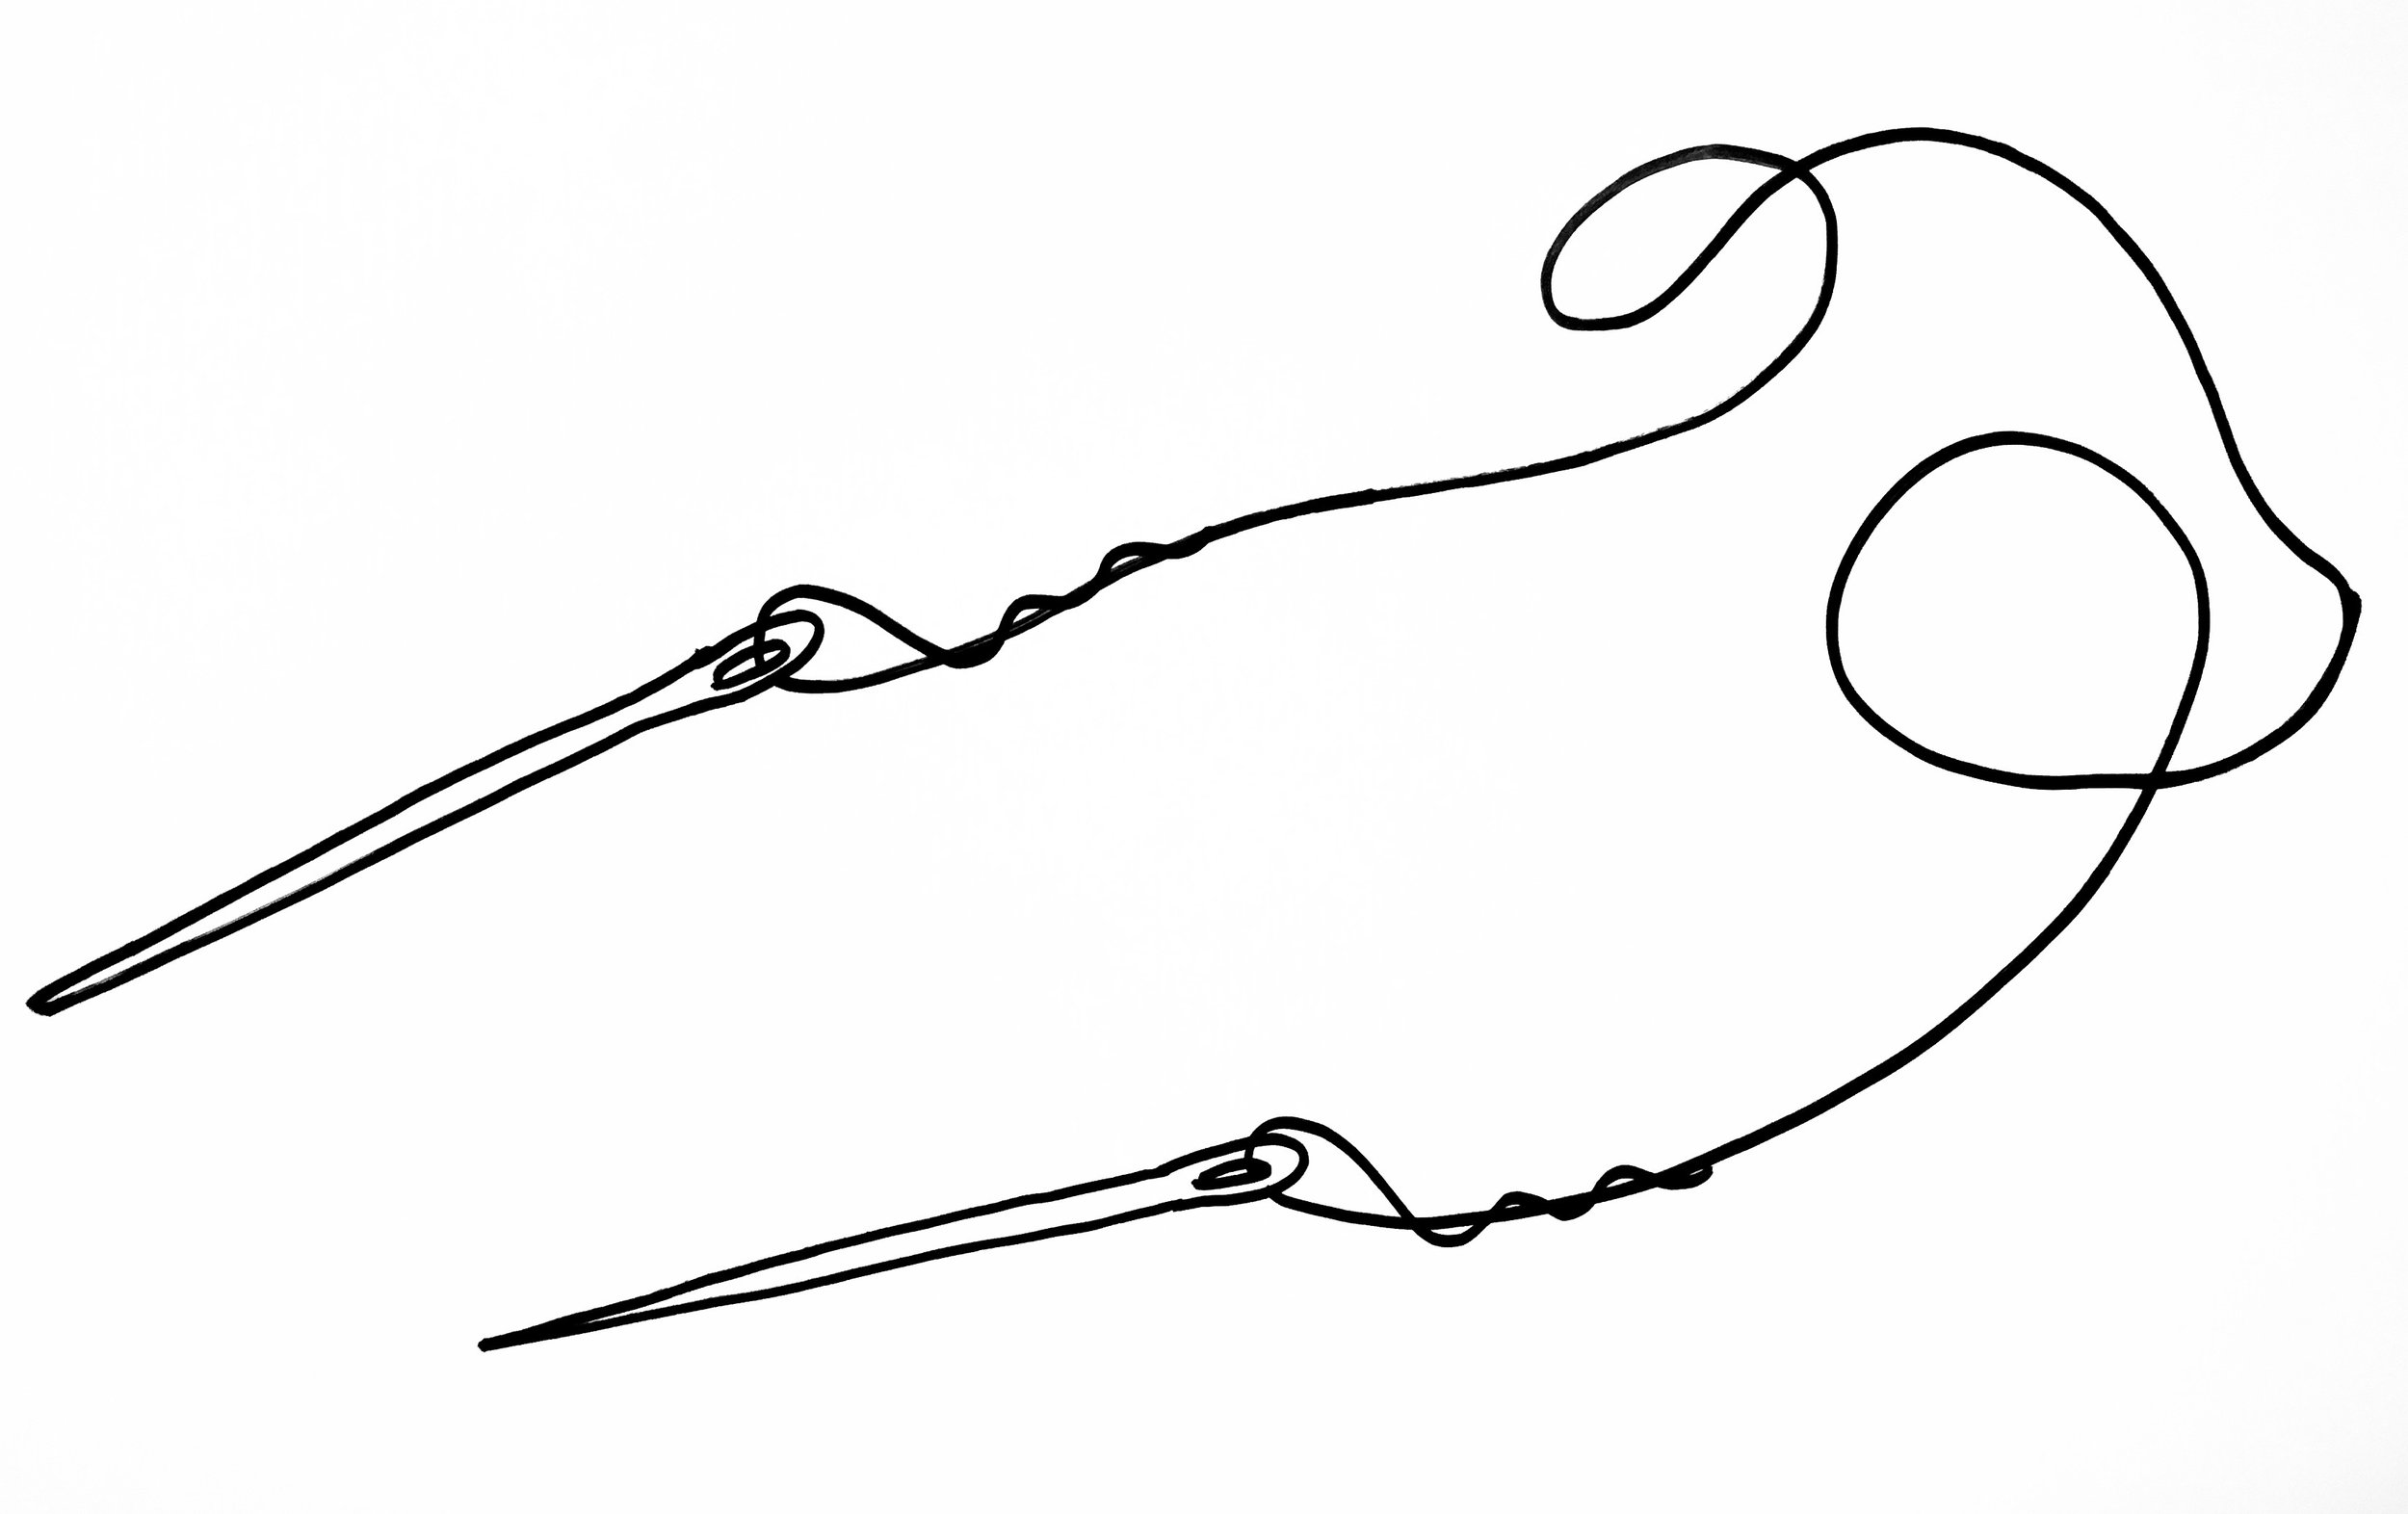
Threading your needle ready for saddle stitch
Snipping the thread at an angle makes it easier to thread. Thread one of the needles leaving a tail of about 8-10cm.
Unravel the thread in an area about 4cm from the end and push the needle through.
Pull the thread back through the eye so the pierced area slides down the needle and over the eye creating a knot under the eye.
Apply pressure and twist so the threads fuse together.
Do the same for the other end of the thread. You should now have one length of thread with two needles at either end.
5. Follow the stitching instructions below and watch the video to help you along the way. You may need pliers to pull the needles through, especially when you start to back-stitch.

Your belt is finished and ready to wear!

Photos and video credit: Heather Birnie Photography